
28 Bathroom Makeup Vanity Ideas for Every Space and Budget
Your morning routine deserves better than a cramped corner of the counter. Whether you have a tiny powder room or a sprawling primary suite, a smart makeup vanity makes getting ready feel effortless. ✨
I’ve rounded up 28 layouts that balance style, storage, and lighting. Some cost a weekend and a few tools, others call for a contractor. Ready to find your favorite? Grab a coffee and start scrolling.
1. Built In Makeup Vanity Nook
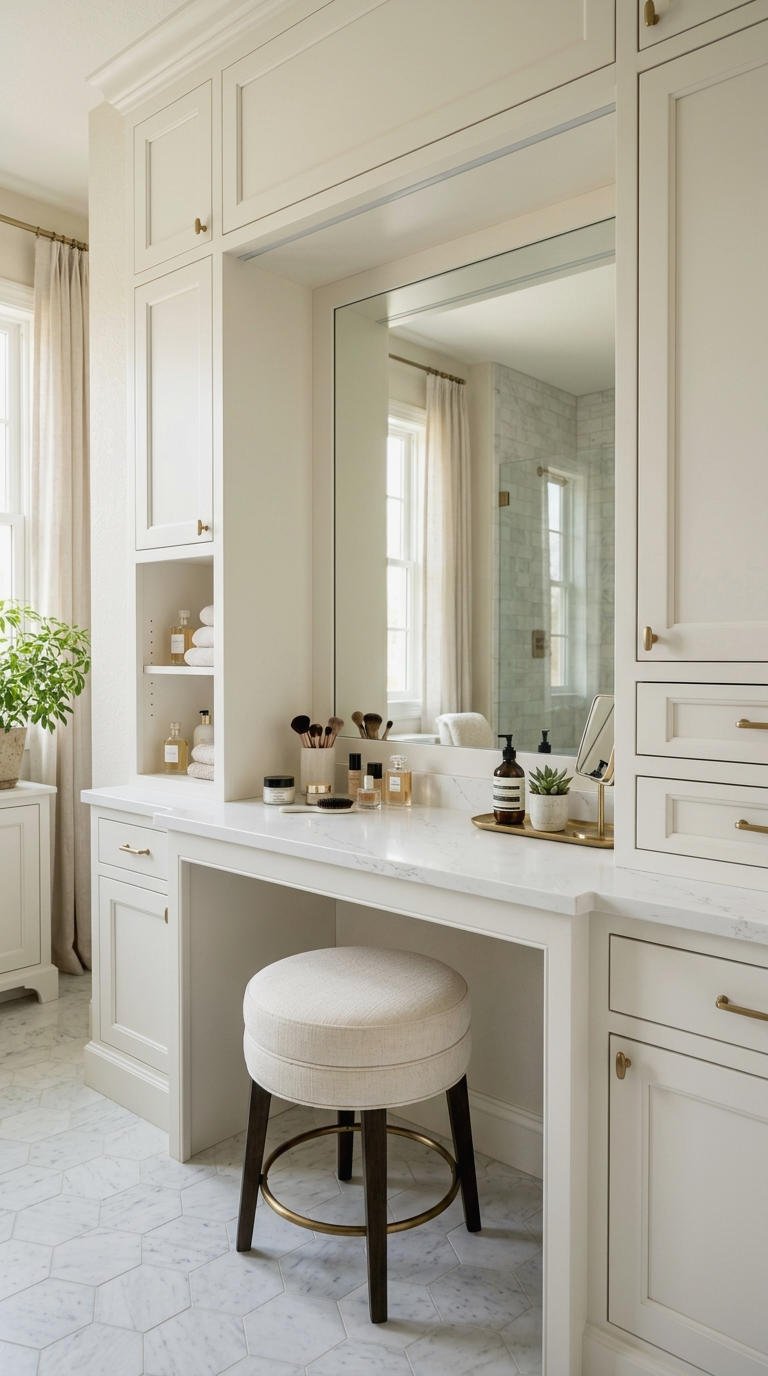
Ever notice how the best bathrooms have one spot that feels like yours alone? A built in makeup vanity nook gives you exactly that. Carve out an alcove, a recessed wall section, or the end of a long counter, then tuck a stool and mirror inside.
I love this setup because it looks planned, not like furniture you dragged in from the bedroom. Surrounding cabinets keep brushes, palettes, and skincare within arm’s reach, so you stop hunting for that one lipstick.
- Recess the mirror into the wall for a clean, flush look
- Add outlets inside a drawer so hair tools stay hidden
- Leave 30 inches of width for comfortable seating
2. Bathroom Vanity With Makeup Area

Sometimes you don’t need a separate station at all. A bathroom vanity with a makeup area simply dedicates part of the counter to your routine, usually with a lowered section and its own mirror. You keep the sink for washing up and the dip for getting glam.
I like this option when you want something simple and budget friendly. It fits most layouts, and you can build it from a standard cabinet plus one smart modification.
- Drop one section to 30 inches high for seated use
- Keep shallow drawers underneath for palettes
- Choose a wide mirror that covers both zones
3. Double Sink Vanity With Makeup Station

Sharing a bathroom? A double sink vanity with a makeup station keeps the morning peace. Ever tried fitting two people’s routines onto one counter? It gets ugly fast. Place the station between the sinks or at one end, and both of you can primp without elbowing each other.
The center placement looks best because it doubles as a visual anchor. Add a stool that slides fully under the counter, and the whole run stays tidy.
- Leave a 30 inch seated gap between the two sinks
- Give each person their own drawer bank
- Hang two matching mirrors for balance
4. Small Bathroom Makeup Vanity Setup

Tiny bathroom, big beauty routine? I’ve been there, and it’s totally doable. A small bathroom makeup vanity setup relies on vertical space and slim furniture, so you never lose precious floor room. Think wall mounted shelves, a narrow console, or a fold down desk.
The trick is making every surface work double duty. A mirror with hidden storage behind it replaces a bulky cabinet and still gives you a clean sightline. A backless stool tucks away completely.
- Mount a fold down shelf that flips up after use
- Pick a 12 inch deep console to save walkway space
- Use wall hooks and trays for daily products
5. Master Bath Makeup Vanity Layout
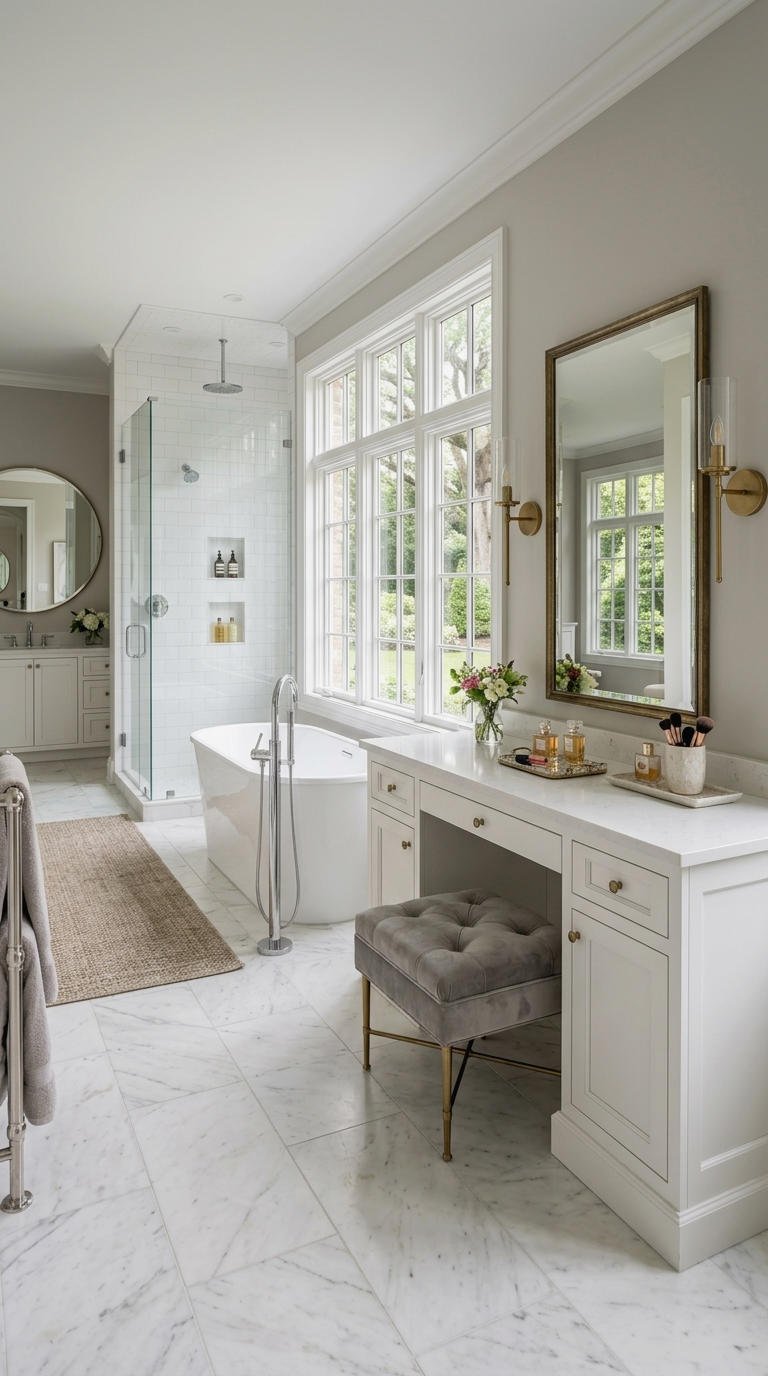
A master bath gives you room to plan this properly, so start with the layout because it decides everything else. Place the vanity near natural light, away from shower steam, and keep a clear path to the closet if you can.
I’d also give it a separate makeup vanity feel, with its own mirror, lighting, and storage, even when it sits right beside the sinks. That way the space reads like a real dressing table, not just an extra stretch of counter.
- Keep the station at least 36 inches wide
- Separate it from wet zones to protect your products
- Add a pocket door or nook for privacy
6. Single Sink Vanity With Makeup Counter

With just one sink, you actually get bonus counter space. A single sink vanity with a makeup counter uses the extra stretch beside the basin for your seated setup. A 60 inch vanity handles this really well, with the sink off to one side and a lowered counter on the other.
Offset the sink instead of centering it. It looks custom and gives you a generous, uninterrupted spot for palettes and brushes. Simple math, big payoff.
- Shift the sink to one end for maximum counter length
- Use a lowered 30 inch section for the makeup zone
- Add matching drawers so the whole run looks unified
7. L Shaped Vanity With Makeup Zone
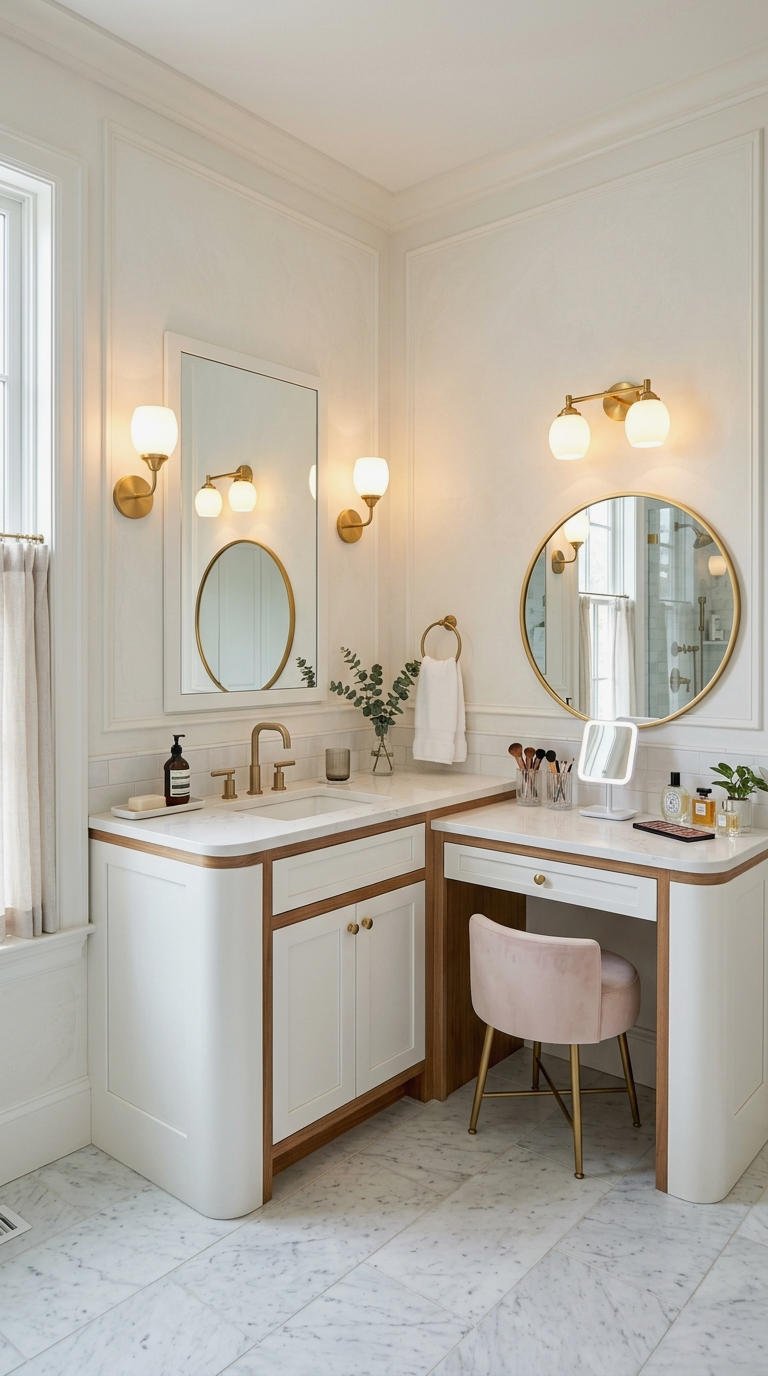
An L shaped vanity turns a corner into prime real estate. One leg holds the sink, and the other becomes your makeup zone. You sit in the crook of the L, everything wraps around you, and nothing sits more than an arm’s length away.
I think this layout feels the most like a real salon station. It also rescues awkward bathrooms where a straight run would waste the corner. Plus, the corner cabinet beats the black hole most corners become.
- Make the short leg at least 24 inches deep
- Round the inside corner to avoid bumped hips
- Light both legs with wall sconces for an even glow
8. Corner Makeup Vanity for Tight Bathrooms
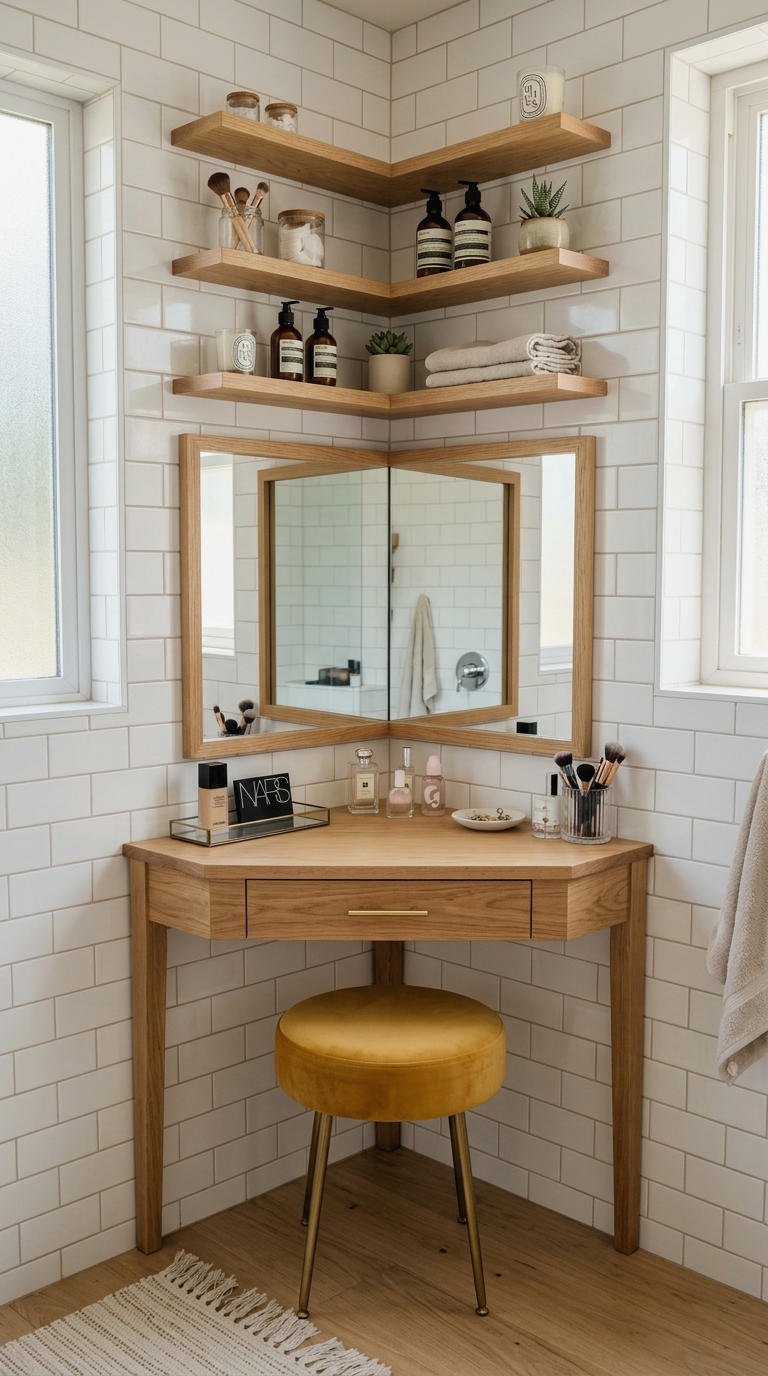
Got an unused corner? Congratulations, you have a makeup spot. A corner makeup vanity uses that dead space with a triangular or curved table, and it barely touches your walkway. I’ve seen this trick rescue bathrooms that seemed hopeless.
Choose a small chair or stool that tucks in, then hang a round or angled mirror so it catches light from two sides. The corner also hides cords neatly behind the table, which is a nice bonus.
- Pick a corner unit around 30 inches per side
- Use floating shelves above for skincare
- Add a compact stool you can slide away
9. Floating Vanity With Makeup Counter
Floating vanities make small bathrooms look bigger, and that’s before you add a makeup counter. A floating bathroom vanity with a makeup counter mounts to the wall, so you see the floor beneath and the room feels open. It also gives you knee space for sitting comfortably.
I recommend this for modern spaces where clean lines matter. Check your wall studs first, because a counter loaded with drawers needs solid support. Bonus: it makes mopping way easier 🙂
- Mount the sink section at 34 to 36 inches
- Drop the makeup section to 30 inches for seating
- Add under cabinet LED strips for a soft glow
10. Modern Makeup Vanity With Sleek Lines
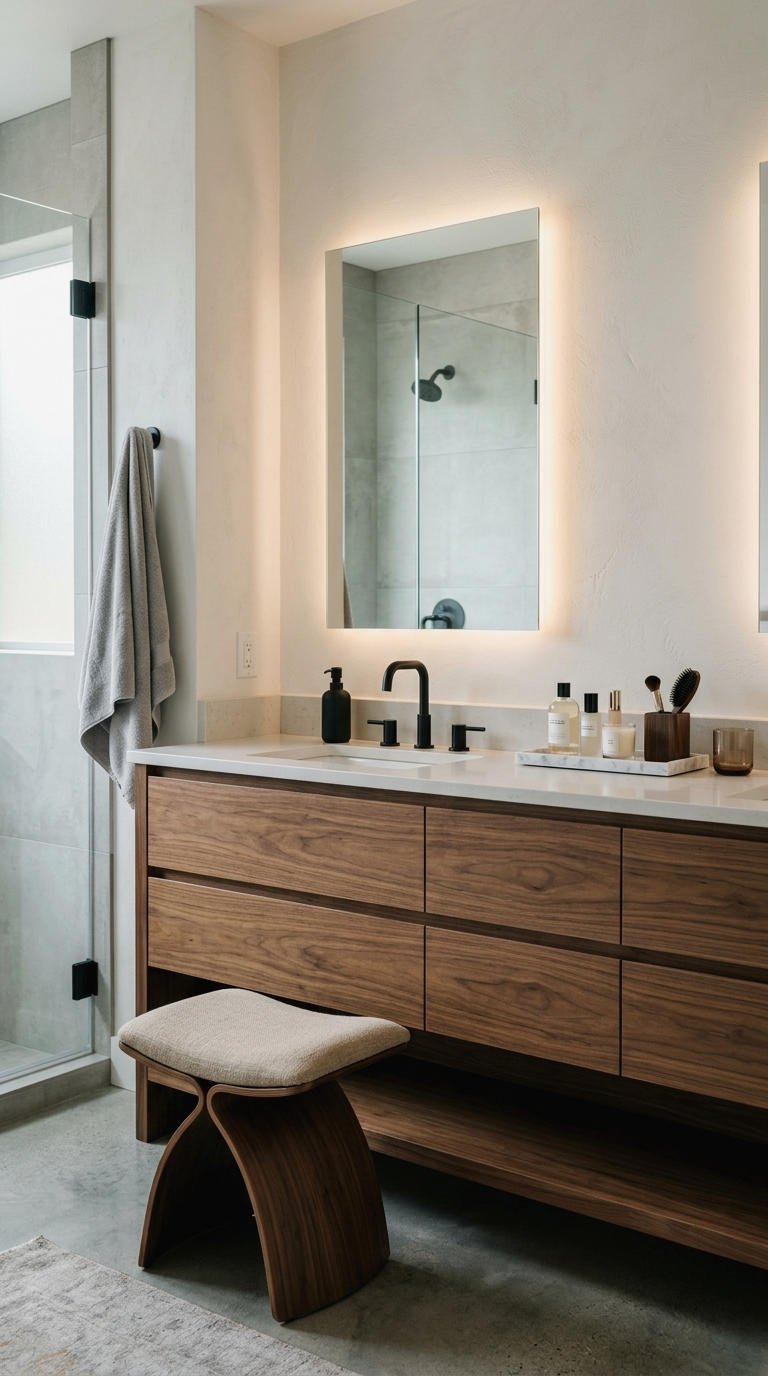
Modern style means no clutter, no fuss, and lots of texture. A modern makeup vanity relies on flat panel drawers, slim metal pulls, and a matte finish. Pair it with a frameless mirror, and the whole corner feels quiet and polished.
Neutral tones like warm white, charcoal, or walnut keep it timeless. Ever seen a minimalist bathroom feel boring? Texture fixes that, so add one bold detail like a brass faucet or a sculptural stool.
- Choose handleless drawers with push to open hardware
- Use integrated LED mirrors instead of bulky fixtures
- Stick to two or three materials at most
11. Farmhouse and Rustic Makeup Vanity
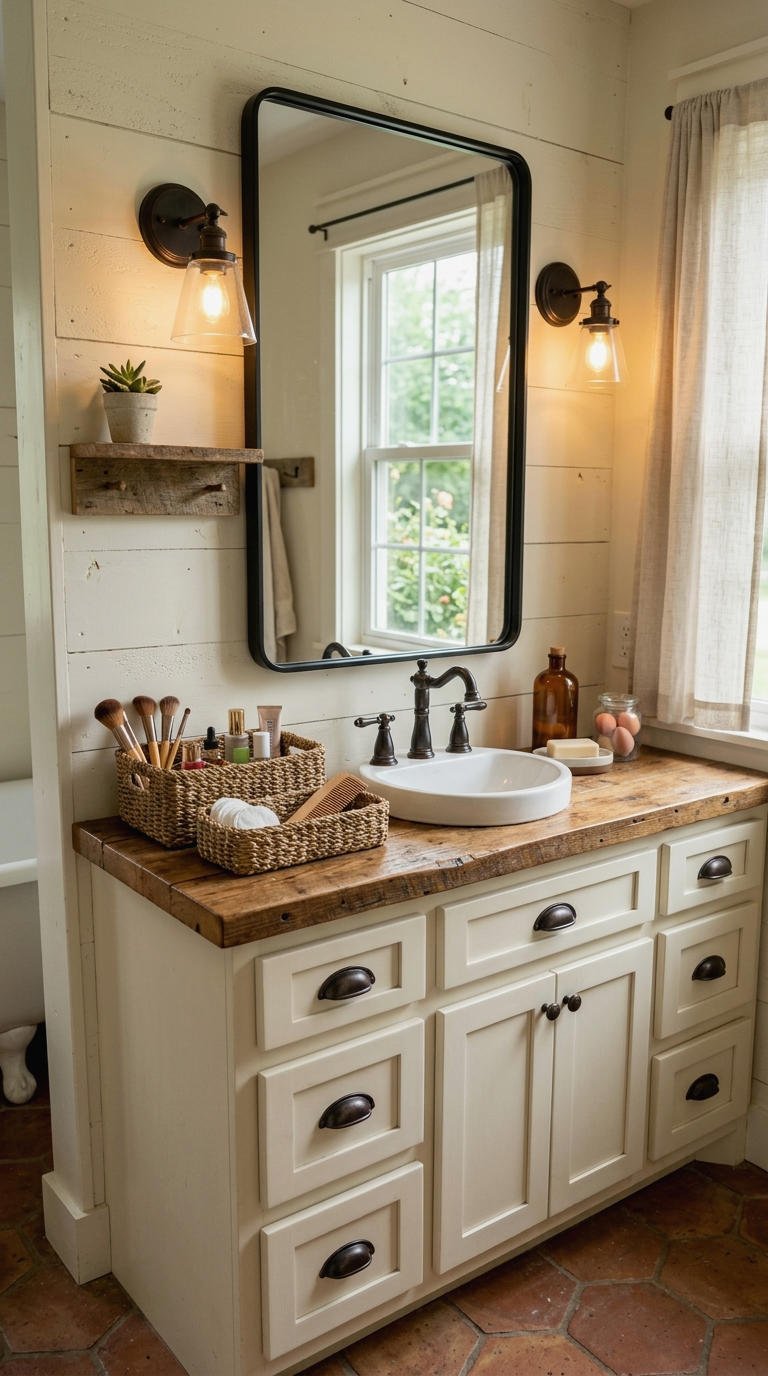
Farmhouse style makes a makeup routine feel cozy instead of clinical. Think reclaimed wood, shaker drawers, and a warm oil rubbed bronze finish. A rustic bathroom vanity with a makeup area looks like a family heirloom you happened to find, and that’s a good thing.
Mix textures for depth. A wood counter against white tile, plus a woven basket for hair ties, makes the space feel lived in and inviting. It beats cold chrome every time.
- Pick butcher block or reclaimed wood for the counter
- Frame the mirror in black metal or aged wood
- Add woven baskets for brushes and towels
12. Lighted Mirror Makeup Vanity Glow
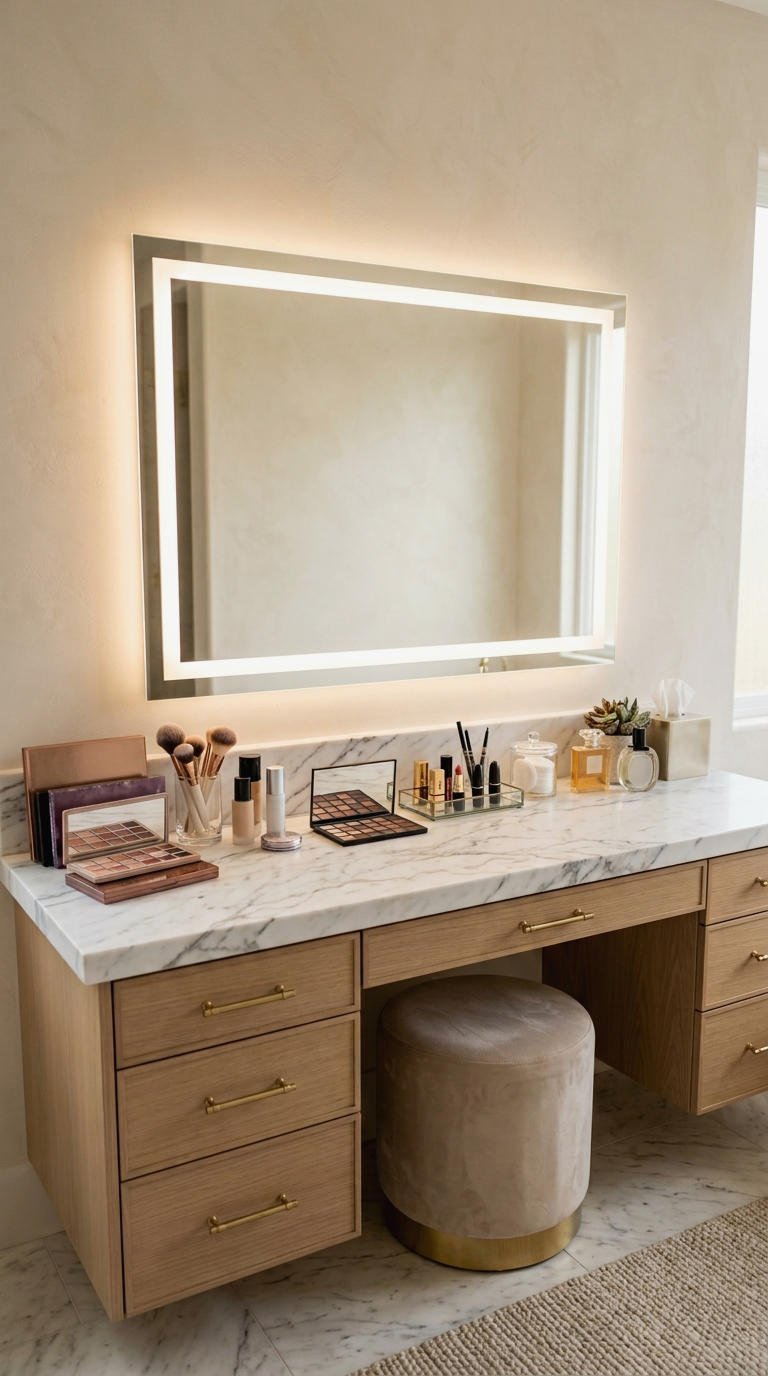
Nothing ruins a makeup look like bad mirror lighting. A lighted mirror fixes that right away. Whether you pick a backlit LED mirror or a Hollywood style frame, the light hits your face evenly and shows true color.
I’d say the mirror matters more than the vanity itself. Ever stepped outside and realized your foundation doesn’t match your neck? A good lighted mirror prevents that, and it makes late night touch ups way less stressful too.
- Choose dimmable mirrors with adjustable color temperature
- Aim for 90 CRI or higher for accurate shades
- Pick a mirror at least 24 inches wide
13. Best Lighting for Makeup Vanity

Lighting deserves its own section, because it changes everything. The best bathroom vanity lighting for makeup comes from the sides and front, never only from above. Overhead light casts shadows under your eyes and cheekbones.
Layer your light instead. Use sconces at eye level on both sides of the mirror, then add a soft overhead fixture for general glow. FYI, warm bulbs hide texture while cool ones reveal every detail, so choose based on how you actually apply.
- Choose 2700K to 4000K bulbs for flattering, natural tones
- Mount sconces about 36 inches apart
- Avoid colored or heavily frosted shades
14. Makeup Vanity Beside the Window

Natural light beats every bulb, so why not use it? A bathroom makeup vanity in front of a window, or right beside it, gives you the most honest view of your face. Morning light makes color matching easy and trims your electric bill a little.
Privacy matters, of course. Frosted glass, a light filtering shade, or a mirror set slightly off the window keeps the neighbors out of your routine while the daylight still pours in.
- Place the vanity perpendicular to the window to avoid glare
- Use sheer roman shades for privacy without darkness
- Pick waterproof finishes near steamy areas
15. Bathroom Vanity With Storage Tower

Storage towers are the unsung heroes of makeup vanities. A bathroom vanity with a storage tower adds a tall cabinet beside the counter, and suddenly you have room for extra towels, hair tools, and backup skincare. It keeps the counter clear, which keeps you calm.
Look for towers that mix open shelves and closed doors. You display the pretty stuff and hide the chaos. Ever tried finding a hair tie in a cluttered drawer? Exactly.
- Choose adjustable shelves for tall bottles
- Add a small drawer inside for tiny items
- Keep the tower 12 to 15 inches wide to save floor space
16. Drop Down Makeup Area Vanity

This one feels like a little magic trick. A drop down makeup area, sometimes called a lowered section or fold down desk, tucks away when you finish. You get a proper seated station for 20 minutes, then you reclaim the space.
It works best in shared or tight bathrooms where a permanent table would crowd everyone. Add soft close hinges and you avoid slammed fingers too. Guests always ask how it works, and that’s half the fun.
- Use heavy duty hinges for daily use
- Add a small lip so products don’t roll off
- Mount a mirror above that stays put when folded
17. Makeup Vanity With Linen Cabinet
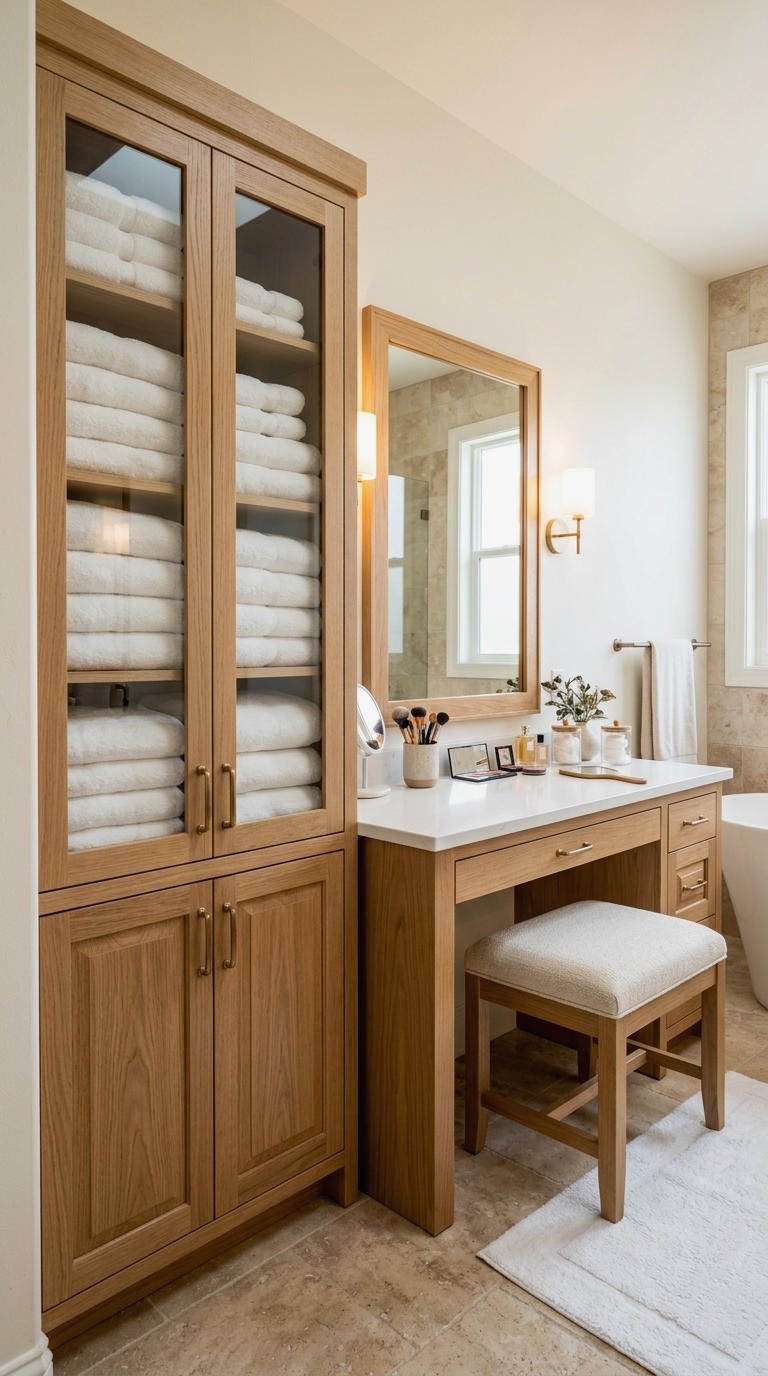
Linen cabinets and makeup vanities make a great team. A makeup vanity with a linen cabinet gives you tall storage for towels, extra toiletries, and spare products right next to your seat. Everything you need lives in one compact zone.
I prefer a glass front on the upper half, since it looks lovely with neatly folded towels. Keep the lower doors solid for the messy stuff. A tidy cabinet also cuts your morning search time in half.
- Match the cabinet finish to your vanity for a built in feel
- Add pull out baskets for easy access
- Leave clearance for door swing near the stool
18. Freestanding Makeup Vanity in Bathroom
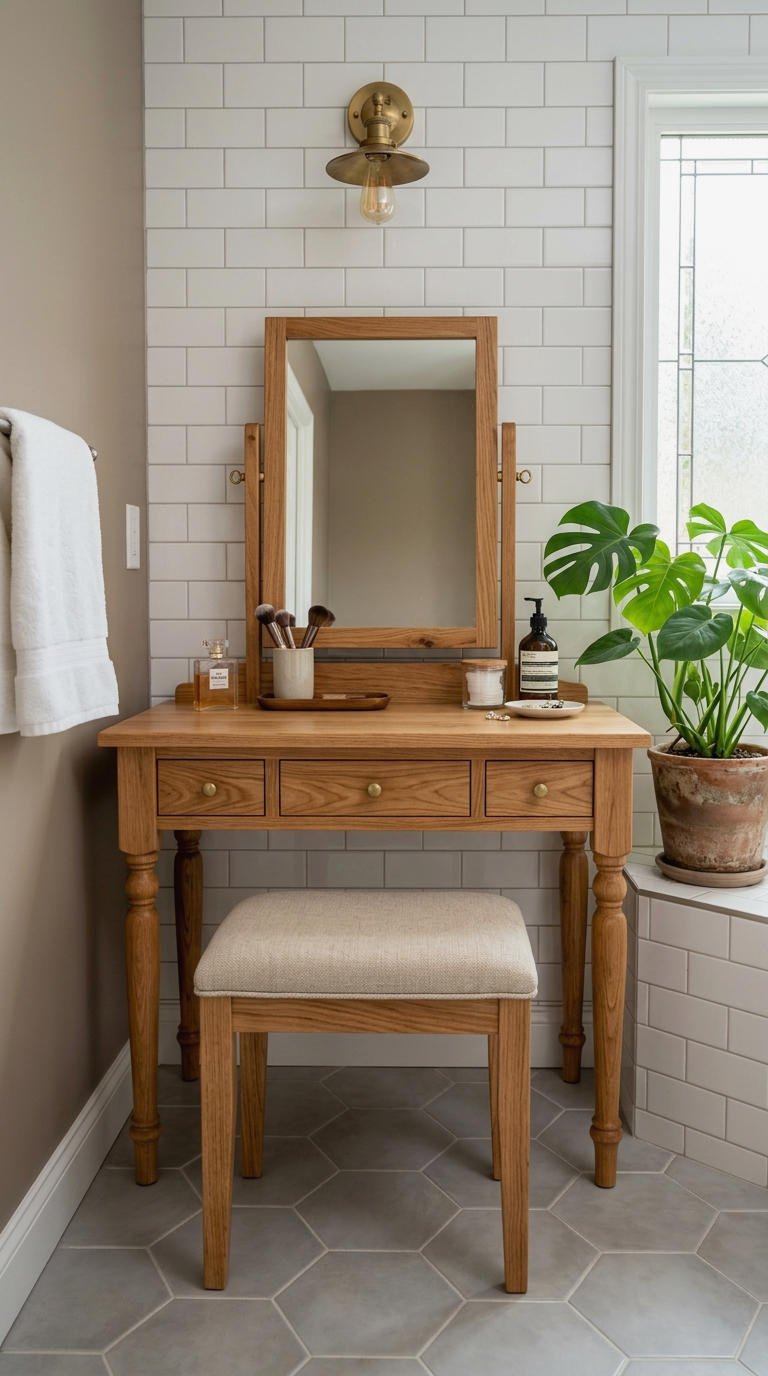
Not ready for a remodel? A freestanding makeup vanity gives you flexibility. You buy a vanity table, slide it against a free wall, and you’re done. It works well in a spacious bathroom where you want a dressing table feel without construction.
Check moisture first. Bathrooms get steamy, so pick solid wood with a sealed finish or a metal frame that shrugs off humidity. You can also move it later if you change your mind, which most built ins can’t say.
- Choose a moisture resistant finish
- Keep it at least 3 feet from the shower
- Add a cushioned stool that wipes clean easily
19. Antique Makeup Vanity Bathroom Style
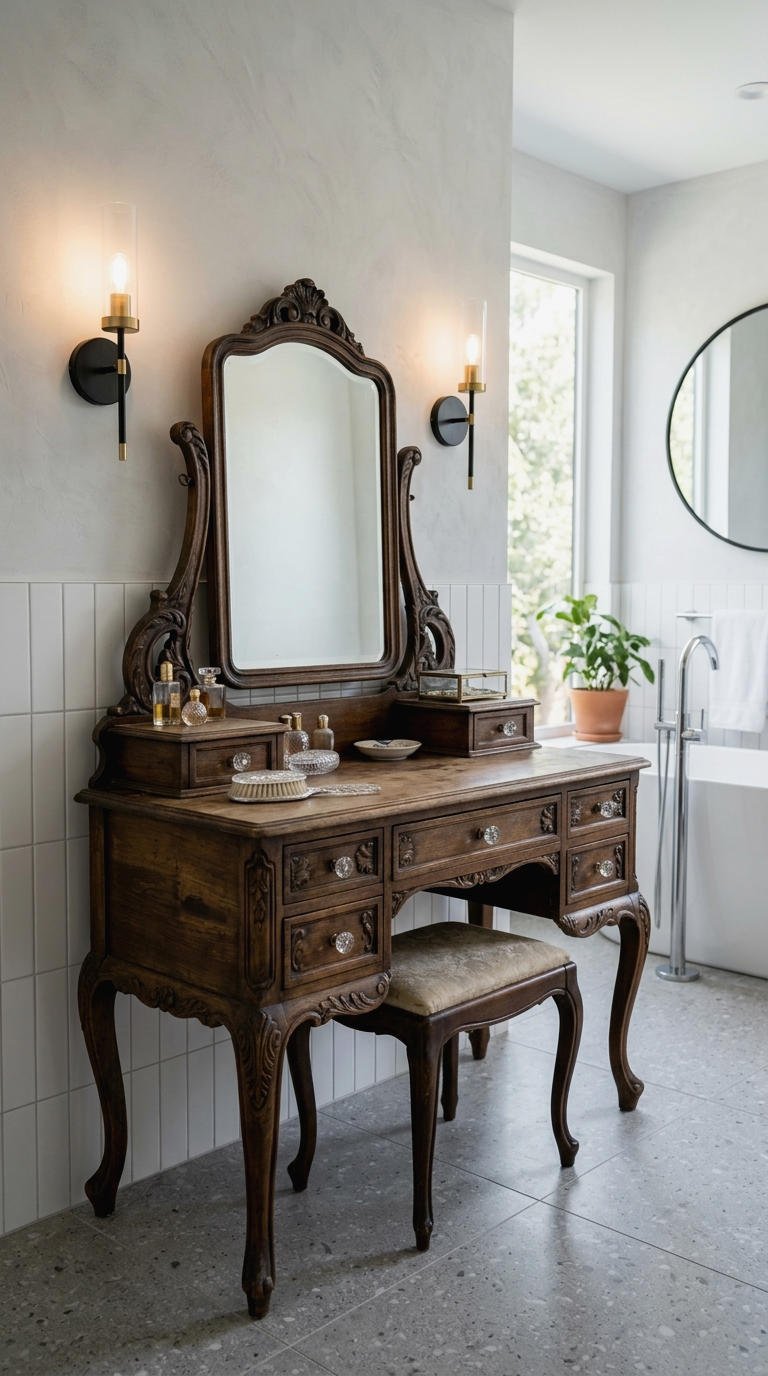
Vintage lovers, this one’s for you. An antique makeup vanity brings character that new furniture can’t copy. Picture a carved wooden dressing table with a tilting mirror and glass knobs, sitting in a modern bathroom. It feels like a story.
Seal old wood before use, since steam damages unfinished surfaces. A clear matte sealant protects the patina without hiding it. Pair the piece with modern lighting for contrast. It’s a fun clash, and I’m here for it.
- Hunt estate sales and antique shops for one of a kind pieces
- Add a vessel sink if you want a true sink combo
- Choose clean, modern sconces for contrast
20. Marble Bathroom Vanity With Makeup Counter
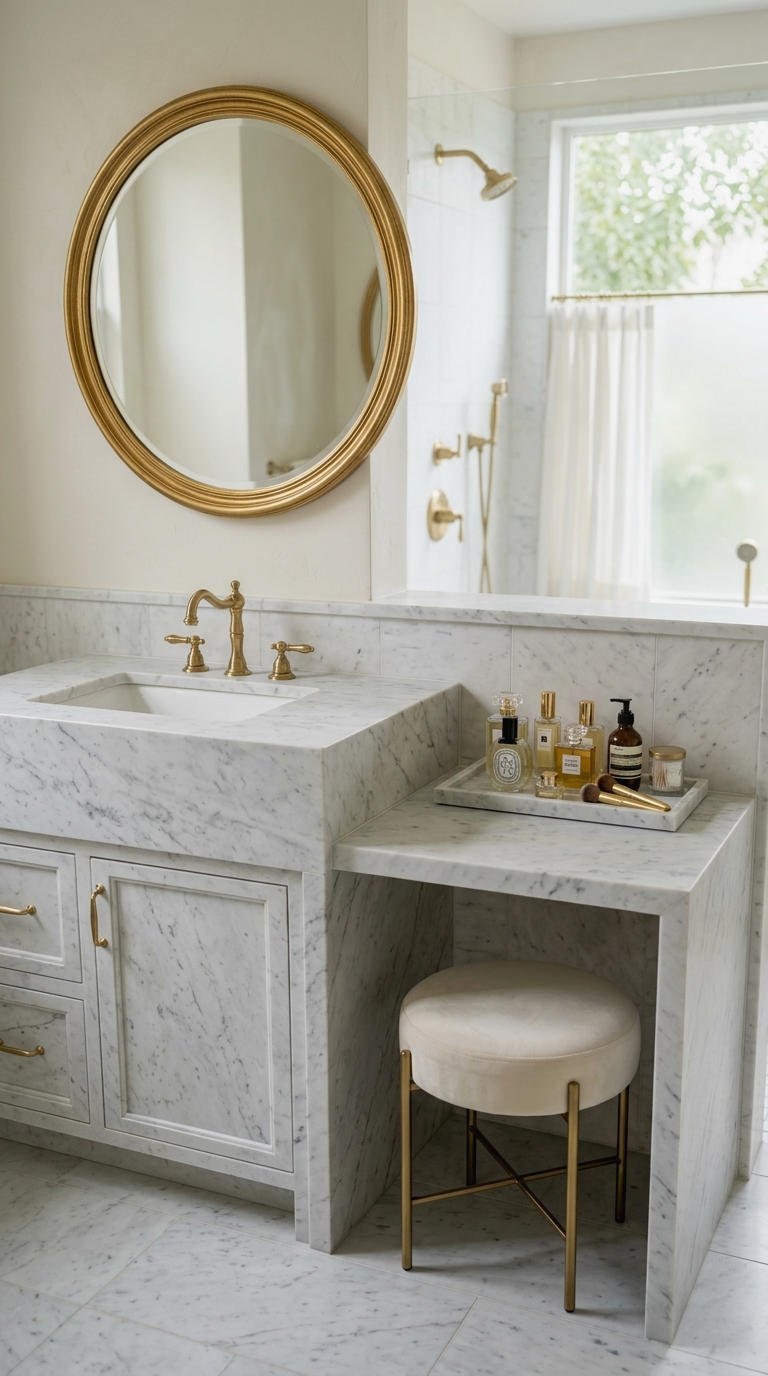
Marble screams luxury without saying a word. A marble bathroom vanity with a makeup counter gives you a smooth, cool surface that photographs beautifully and cleans up fast. White Carrara with soft gray veining is the classic pick.
Seal the stone regularly, because foundation and perfume can stain porous marble. If you hate maintenance, look at quartz that mimics the same veining. Yes, marble costs more. IMO, it’s worth it if you love the look. Ever seen marble look dated? Me neither.
- Choose a honed finish to hide fine scratches
- Add brass or gold hardware for warmth
- Use a small tray to protect the stone from spills
21. Luxury Primary Bath Makeup Vanity
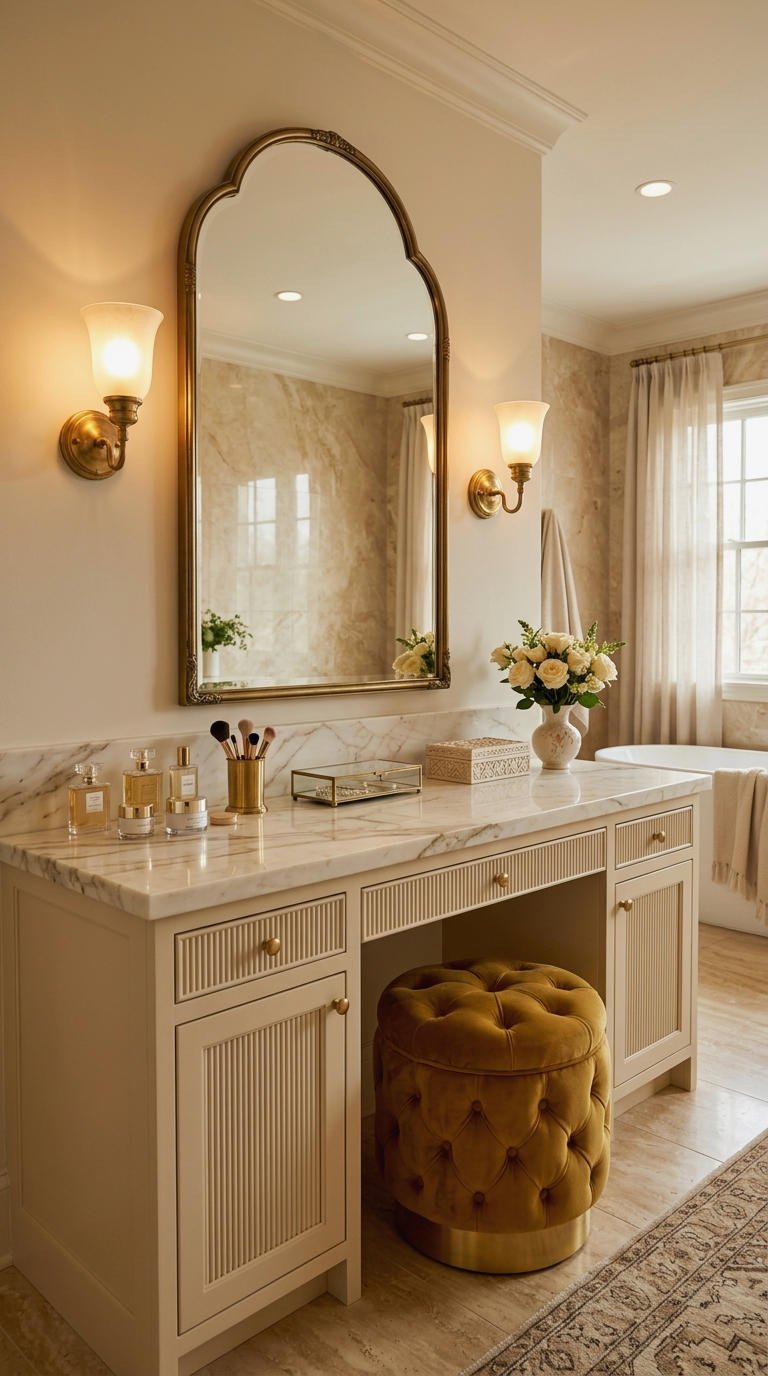
If budget allows, go big. A luxury primary bathroom makeup vanity feels like a private dressing suite. Think a wide counter, crystal or brass fixtures, a plush upholstered seat, and warm layered lighting. It turns a routine into a treat.
Add smart touches too, like heated floors under your feet or a built in charging drawer. You deserve a spa, right? Little comforts make the space feel truly high end, and you’ll notice them every single morning.
- Choose a custom width of 48 inches or more
- Add soft close drawers with velvet lined trays
- Include dimmable sconces for morning and evening modes
22. His and Hers Makeup Vanity Layout
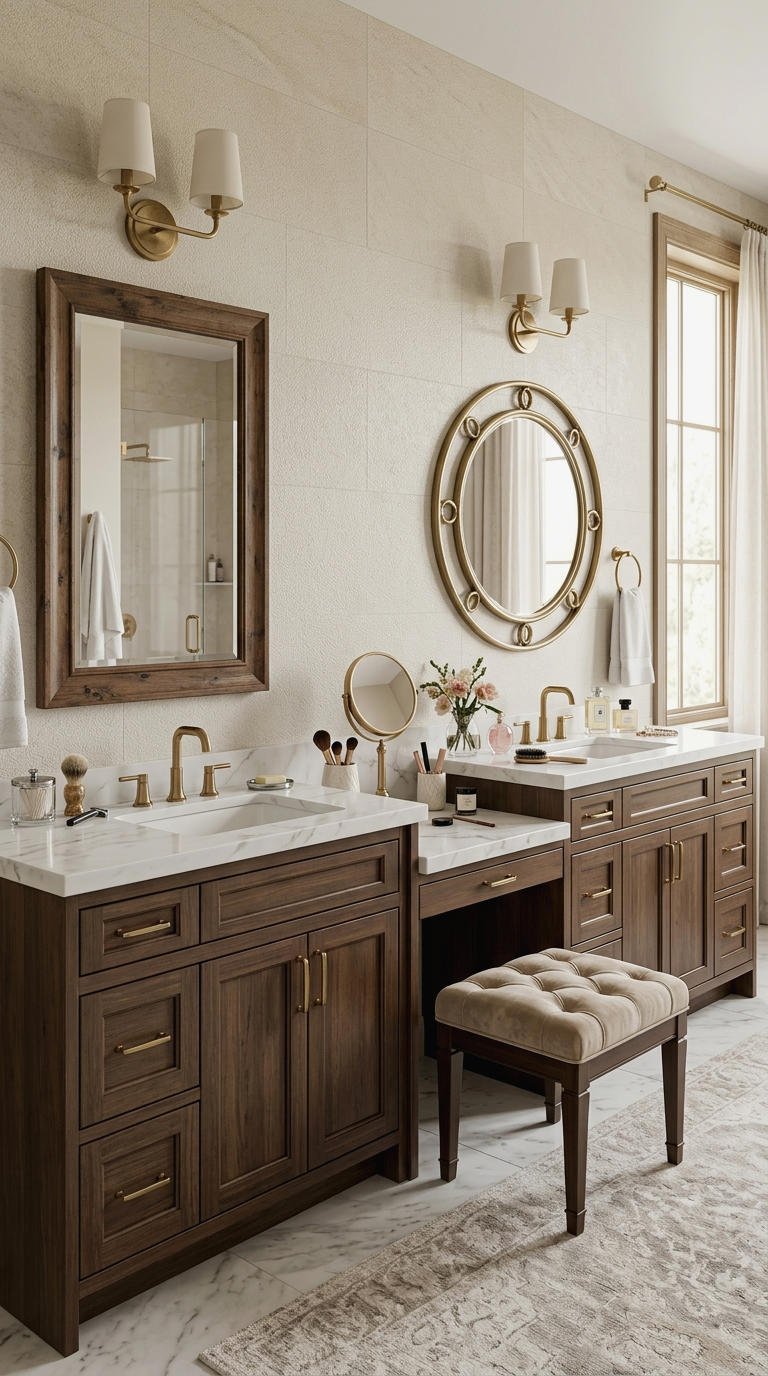
Sharing space works better with a plan. A his and hers layout gives each person a zone: two sinks, two mirrors, and one shared makeup station in the middle. Everyone gets storage, and nobody argues about counter space.
Try splitting drawers by person, and keep the makeup seat on the side of whoever uses it most. Ever fought over the last inch of counter? This ends that. Matching hardware keeps it cohesive even when the routines differ.
- Divide drawers and cabinets evenly to prevent turf wars
- Place the station between the sinks or at the far end
- Use two different mirror styles to personalize each side
23. Ensuite Bathroom With Makeup Vanity
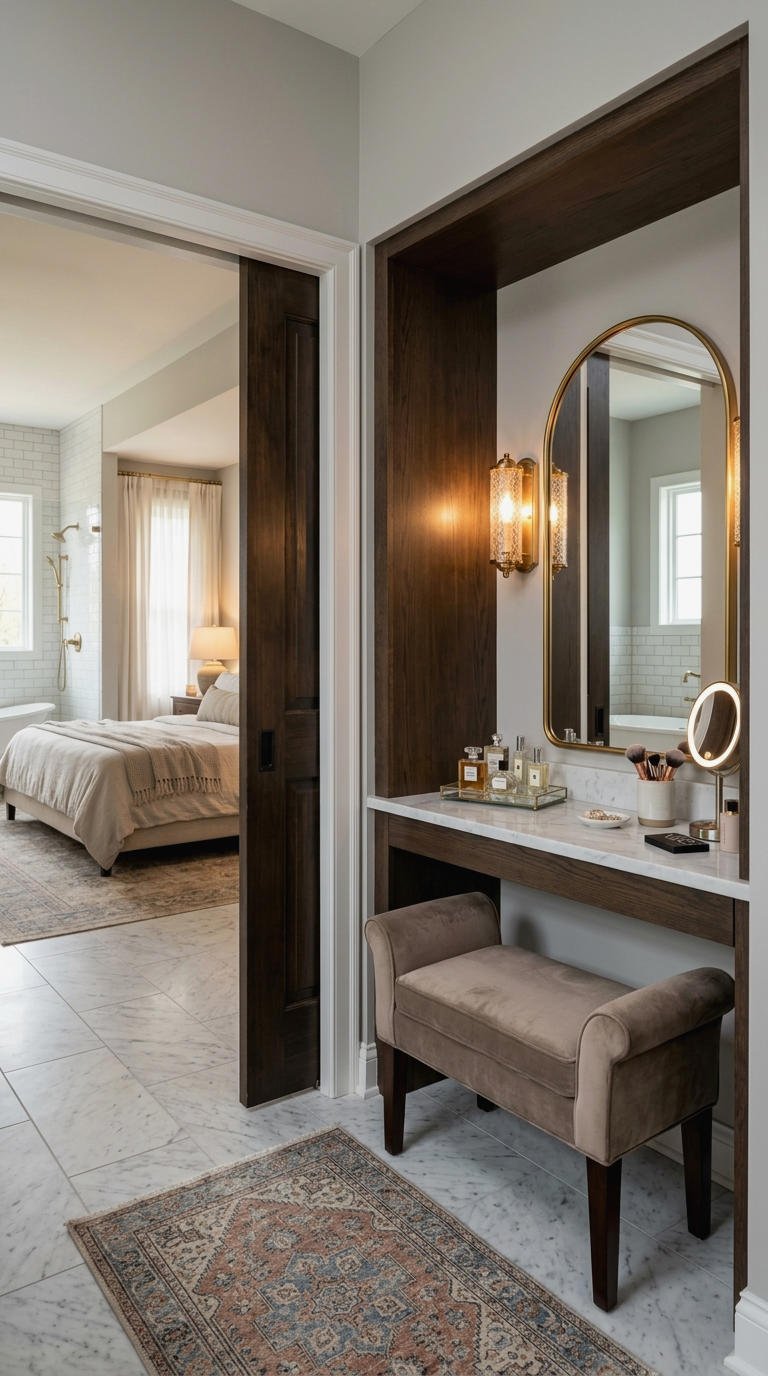
Ensuite bathrooms often sit right off the bedroom, so your makeup vanity can straddle both spaces. Place it at the entrance, in an alcove between the bedroom and the bath, and it feels like a natural transition. You avoid the steamiest air, yet a sink stays close by.
Use a pocket door or sliding barn door to separate the zones when you want privacy. Lighting matters here too, since you’re blending bedroom and bath moods. A tiny bench nearby doubles as a spot for shoes.
- Pick moisture resistant finishes for cabinetry
- Add a small rug to soften the walk in
- Use warm sconces to match the bedroom mood
24. Guest Bathroom Makeup Vanity Corner

Guests notice the little things, and a makeup corner says you thought of them. A guest bathroom makeup vanity corner needs no big footprint. A slim shelf, a small mirror with a light, and a tidy tray do the job, even if the sink stays tiny.
Keep it simple and stocked. A few cotton pads, makeup remover wipes, and a spare hair tie feel like a boutique hotel touch. Your relatives will love you for it, and you’ll look like a pro host.
- Use a compact console under 36 inches wide
- Provide a simple stool or bench
- Add a small basket with extras for guests
25. Seated Makeup Vanity Height and Chair
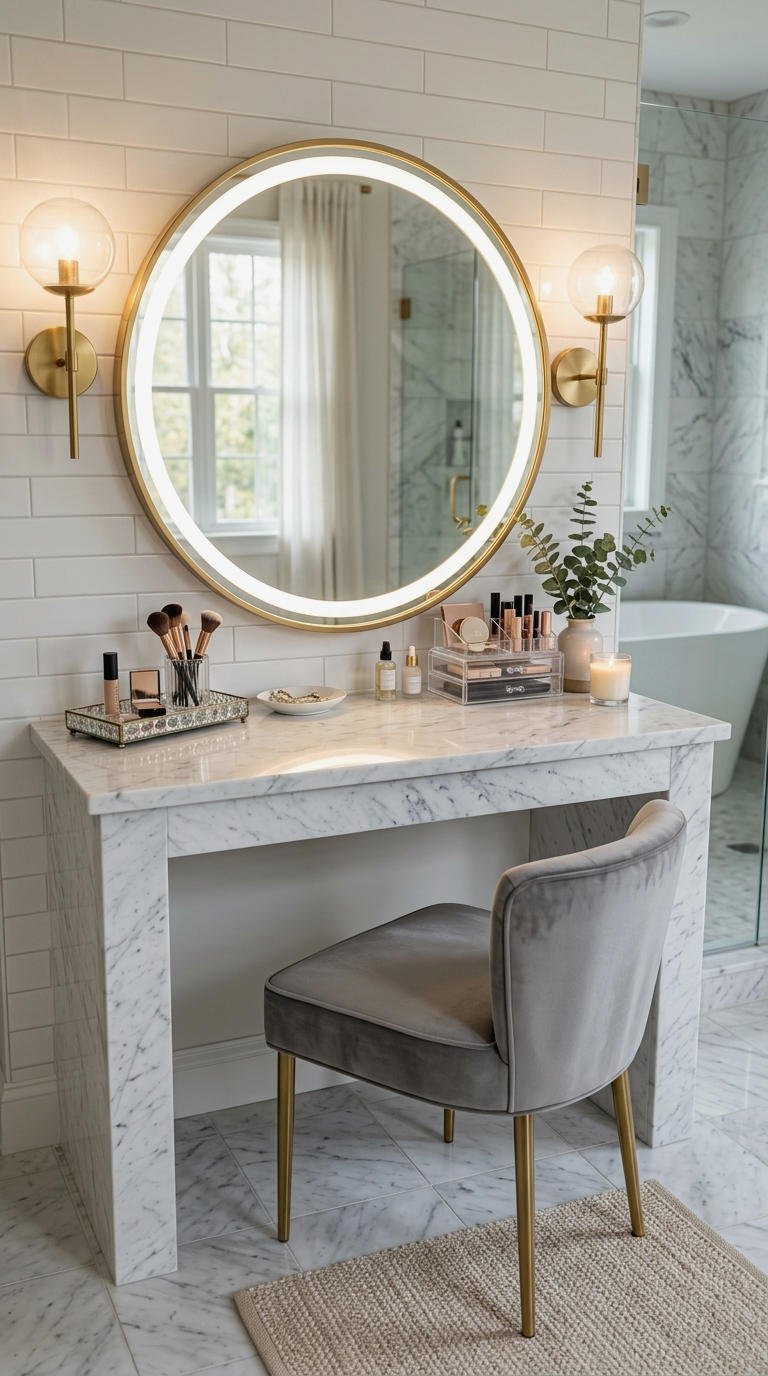
Comfort matters more than most people think. A seated makeup vanity in the bathroom needs the right height, or your back will pay for it. Keep the counter around 30 inches high and your chair at about 18 inches, so your elbows rest naturally.
Choose a chair with a slim profile. Backless stools tuck away neatly, while low back chairs add comfort for longer sessions. Ever tried blending eyeshadow while hunching over a tall counter? Never again.
- Leave 24 inches of knee clearance under the counter
- Choose cushioned, wipe clean upholstery
- Pick rubber feet to protect your floor
26. Makeup Vanity Organization That Works
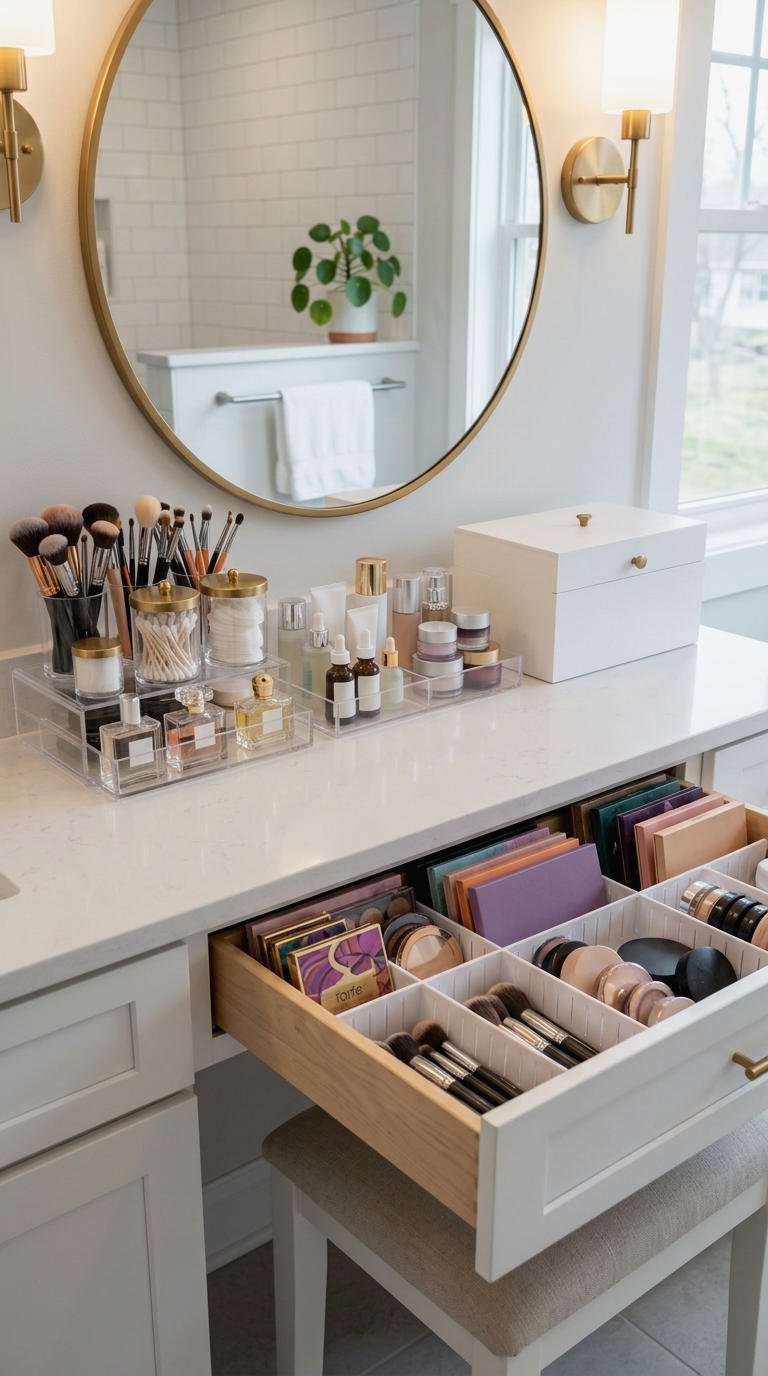
A gorgeous vanity turns chaotic without a system. Good organization keeps daily items out and backups stored, so you grab what you need in seconds. Sort by use instead of by brand, and the whole counter calms down.
Drawer dividers, acrylic trays, and small jars do most of the heavy lifting. Try one rule: only products you use daily live on top. Everything else goes in a drawer or bin. Cleaning gets easier too, because you wipe one tray instead of forty bottles.
- Use drawer dividers for palettes and brushes
- Stash backups in a lidded bin
- Add a small tray to catch daily favorites
27. DIY Bathroom Makeup Vanity Build
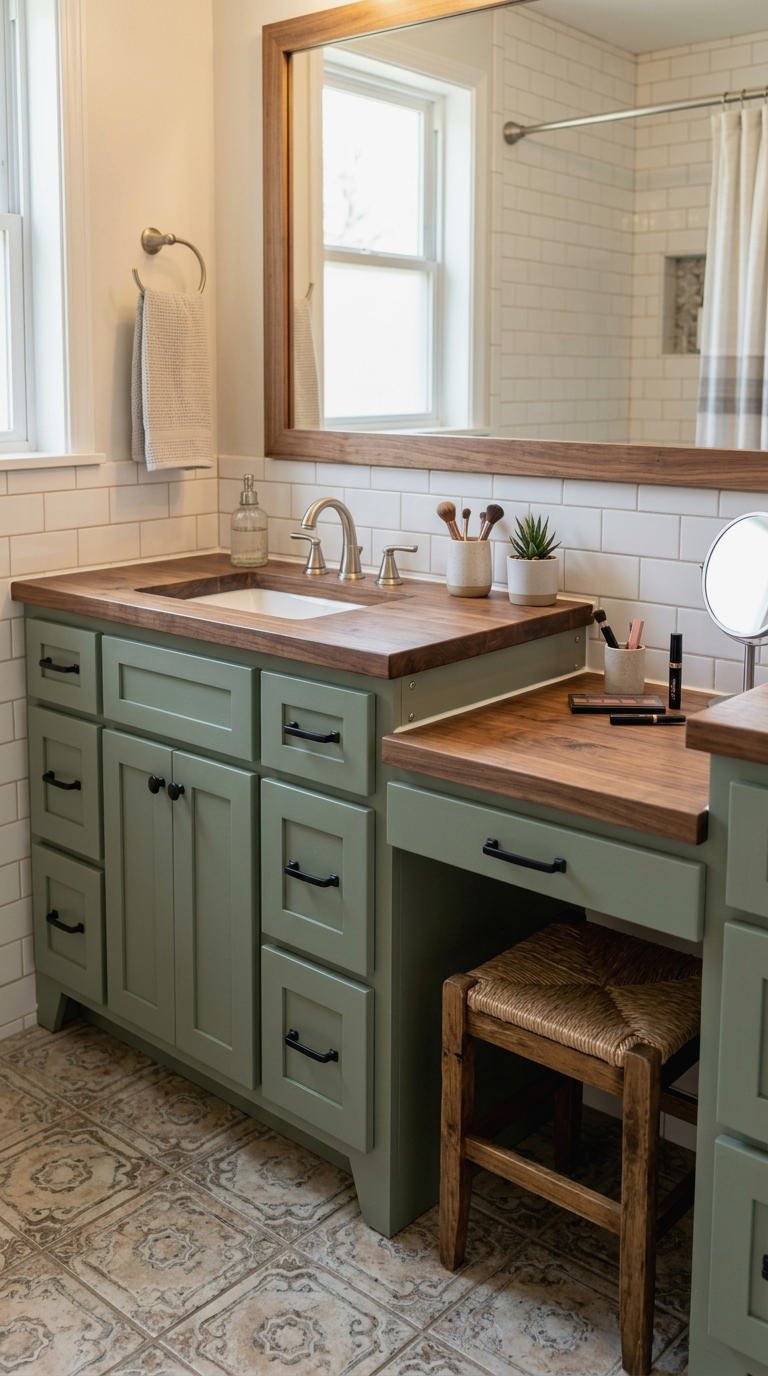
Feeling handy? A DIY bathroom makeup vanity saves money and lets you customize every inch. Start with a basic cabinet base, add a butcher block or laminate top, and build a lowered section for seating. A weekend and a few tools handle most of it.
Seal everything for humidity. Use moisture resistant paint or polyurethane so the wood doesn’t warp over time. Ever wanted a vanity that fits your exact routine? This gets you there, and you’ll feel proud every time you sit down.
- Measure your chair and knee space first
- Use stainless screws to avoid rust
- Caulk all seams near the sink
28. Custom Makeup Vanity for Remodels

Planning a full renovation? Then go custom. A custom bathroom makeup vanity fits your exact wall, your outlets, and your routine. You can add a lowered counter, pull out hair tool drawers, tall storage, and matching mirror cabinets in one continuous design.
Talk to your contractor about electrical outlets and lighting before the walls close up. Little details like these separate a good remodel from a great one. Custom costs more upfront, but you’ll enjoy it daily.
- Plan outlets inside drawers for hair tools
- Choose full extension slides for easy access
- Budget for lighting and mirrors first
Frequently Asked Questions
How high should a bathroom makeup vanity be?
Aim for about 30 inches for a seated makeup counter and 34 to 36 inches for a standing sink section. Pair a 30 inch counter with a chair around 18 inches tall, and your elbows will rest comfortably while you work.
How much space do I need for a makeup vanity in a bathroom?
Plan on 36 inches of width and 18 to 24 inches of depth at minimum. Leave about 24 inches of knee clearance underneath, plus enough floor space to pull your stool out without bumping the sink or door.
What is the best lighting for a bathroom makeup vanity?
Choose front and side lighting at eye level, with bulbs between 2700K and 4000K and a CRI of 90 or higher. This combination cuts shadows and shows your true skin tone, and natural window light works even better.
Can I fit a makeup vanity in a small bathroom?
Absolutely. Try a fold down shelf, a corner table, or a floating counter with a slim stool that tucks away. Wall mounted mirrors with storage save floor space, so even a tiny bathroom gets a real makeup spot.
Final Thoughts
A great bathroom makeup vanity comes down to three things: comfortable seating, flattering light, and storage that keeps your products within reach. You can get there with a full custom build or with one simple lowered counter. Pick the layout that fits your space, and start small if you need to.
Your mirror should make you feel good every single morning. So which idea will you try first?
