
20 Makeup Mirror Lighting Ideas for Deep Skin Tones That Show True Color
You pick the perfect foundation shade at the store, bring it home, and it turns ashy in your bathroom. Sound familiar? 😅
Your makeup probably didn’t fail. Your lighting did.
Deep skin tones show every flaw in a light setup. Cool blue bulbs gray out your base, harsh overhead lights carve dark shadows under your eyes, and cheap LEDs wash out rich undertones.
FYI, the right makeup mirror lighting fixes all of that without a full bathroom remodel.
This list walks you through 20 setups, from Hollywood bulbs and ring lights to side sconces and travel mirrors. Pick the ones that fit your space, your budget, and your routine.
1. Makeup Mirror Lighting for Deep Skin

Deep skin needs light that shows true color, not light that mutes it. Aim for soft, even light that hits your face from the front and the sides. That setup erases harsh shadows and keeps your foundation, blush, and bronzer looking like themselves.
Skip bare overhead bulbs. They drop shadows under your brows, nose, and chin, and you end up over-blending problems that don’t exist. Good lighting saves you time and product. Think of it as a spotlight that flatters instead of interrogates. Your skin deserves that.
- Light direction: front and side facing
- Brightness: strong enough for detail, soft enough to avoid glare
- Goal: the same color you see outside
2. Right Color Temperature for Foundation Matching

Color temperature decides whether your foundation looks warm, flat, or gray. Kelvin (K) measures it, and 4000K to 5000K works for most makeup routines. That range sits between yellow bulbs and icy blue ones.
IMO, neutral white beats both extremes. Warm bulbs can hide a shade that runs too orange, and cool bulbs can make a perfect match look ashy. Test your foundation in your chosen light, then step near a window to double check.
- Under 3000K: cozy, but it pushes your shade warmer
- 4000K to 5000K: the sweet spot for matching
- Over 5500K: crisp, but it can look gray
3. High CRI Bulbs for True Color
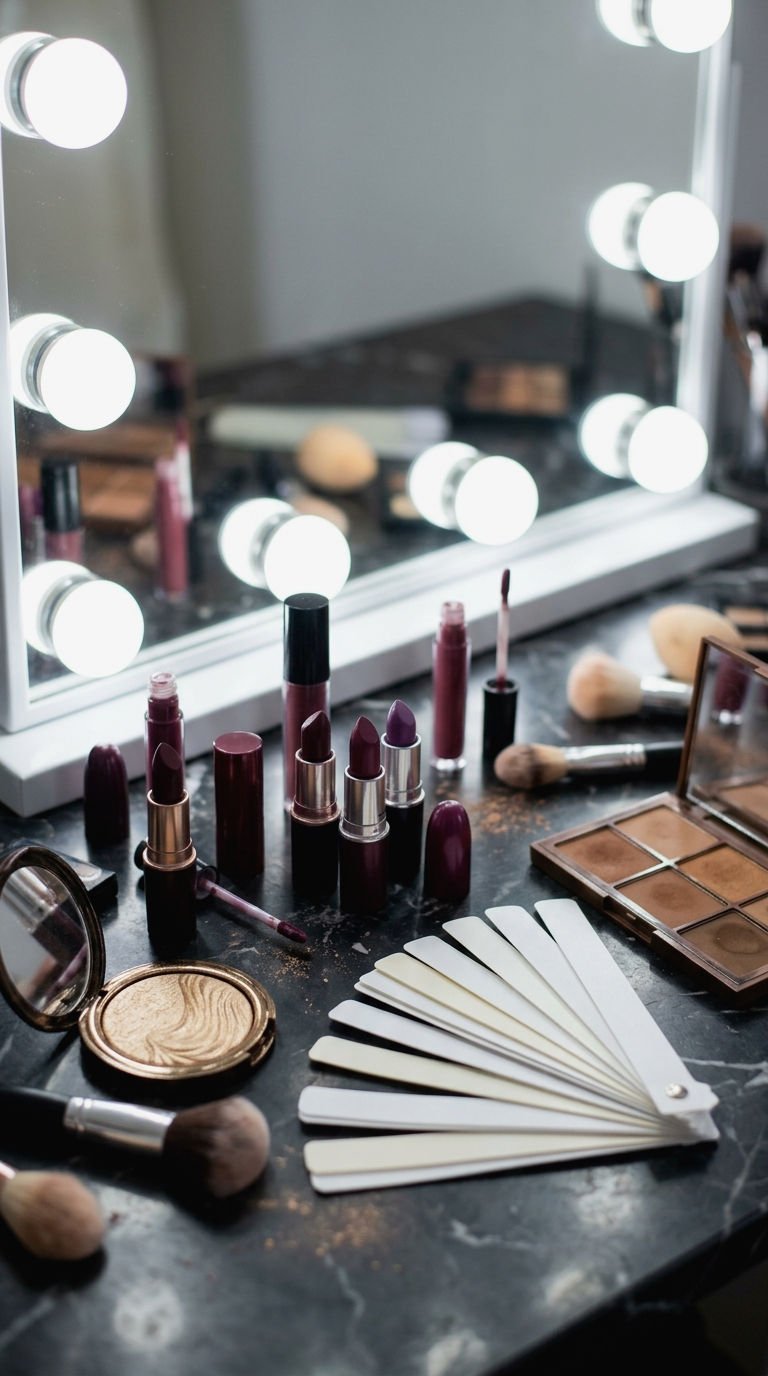
CRI stands for color rendering index, and it tells you how faithfully a bulb shows color. Look for CRI 90 or higher. Lower scores can muddy your bronzers, deep berry lipsticks, and golden highlighters.
Many listings skip this number, which drives me nuts. If a seller hides the CRI, I assume the bulb scores low and move on. Why gamble on a mirror when you plan to wear a full face of makeup in front of it?
- Check for: CRI 90 plus on the label or listing
- Why it matters: rich browns, reds, and golds stay accurate
- Skip: bulbs that only advertise brightness
4. Hollywood Vanity Mirror With Warm Bulbs

A Hollywood mirror wraps your face in bulbs, so light reaches you from every direction. That wraparound glow wipes out shadows and makes blending easier. It also looks amazing in a bedroom corner.
Pick frosted LED bulbs in a neutral to slightly warm tone. Frosted bulbs soften the glow, and LEDs run cooler than old incandescent globes. Your face stays comfortable during a long routine, which matters more than people admit. Choose a model with enough bulbs to frame the whole mirror, since gaps in the row create patchy light across your cheeks.
- Bulb type: frosted LED
- Tone: neutral to soft warm
- Bonus: a dimmer dial for different looks
5. Ring Light Makeup Mirror for Contouring
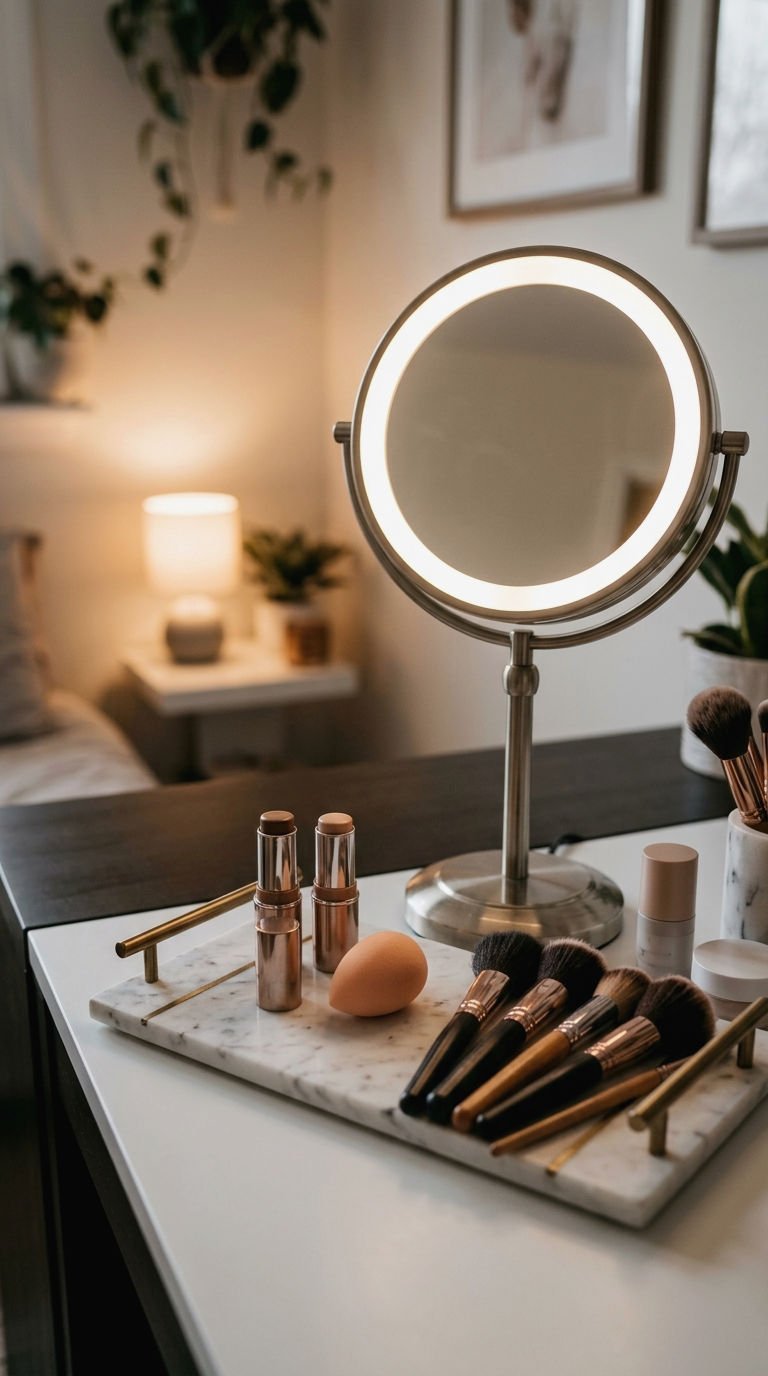
A ring light mirror throws even light straight onto your face. That evenness helps you spot patchy blending around the jaw, hairline, and cheekbones. You see edges clearly, which makes contour work faster.
One catch: front light can flatten natural depth. Tilt your head and check your profile so your contour still looks sculpted from the side. I like pairing a ring light with a small lamp off to one side for balance. Skip tiny rings, because a wider ring covers more of your face and gives you softer, more even coverage.
- Best for: blending edges and base work
- Watch out: flattened depth from straight-on light
- Fix: add a soft side lamp
6. Side Sconces for Even Face Lighting
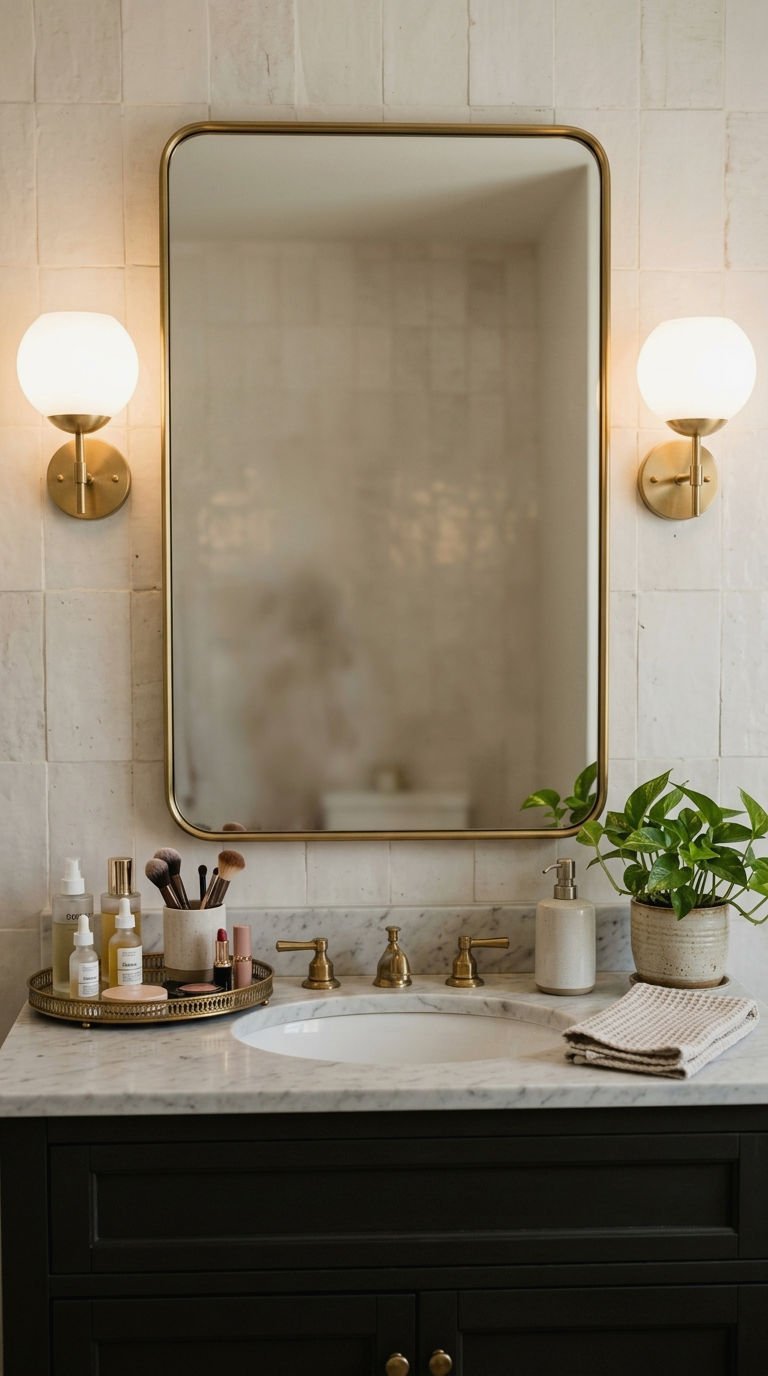
Sconces on both sides of your mirror give you one of the most flattering vanity setups. Mount them at eye level, roughly shoulder-width apart, so light wraps across both cheeks. Shadows under your chin and eyes basically disappear.
Match the bulbs on both sides. A warm bulb on one side and a cool bulb on the other creates uneven color, and you will chase that imbalance all morning. Wall sconces cost more than plug-in options, but they look polished and free up your counter space for products.
- Placement: eye level, one on each side
- Bulbs: same brand, same color temperature
- Bonus: pair them with a lit mirror for extra glow
7. Backlit LED Mirror for Smooth Glow
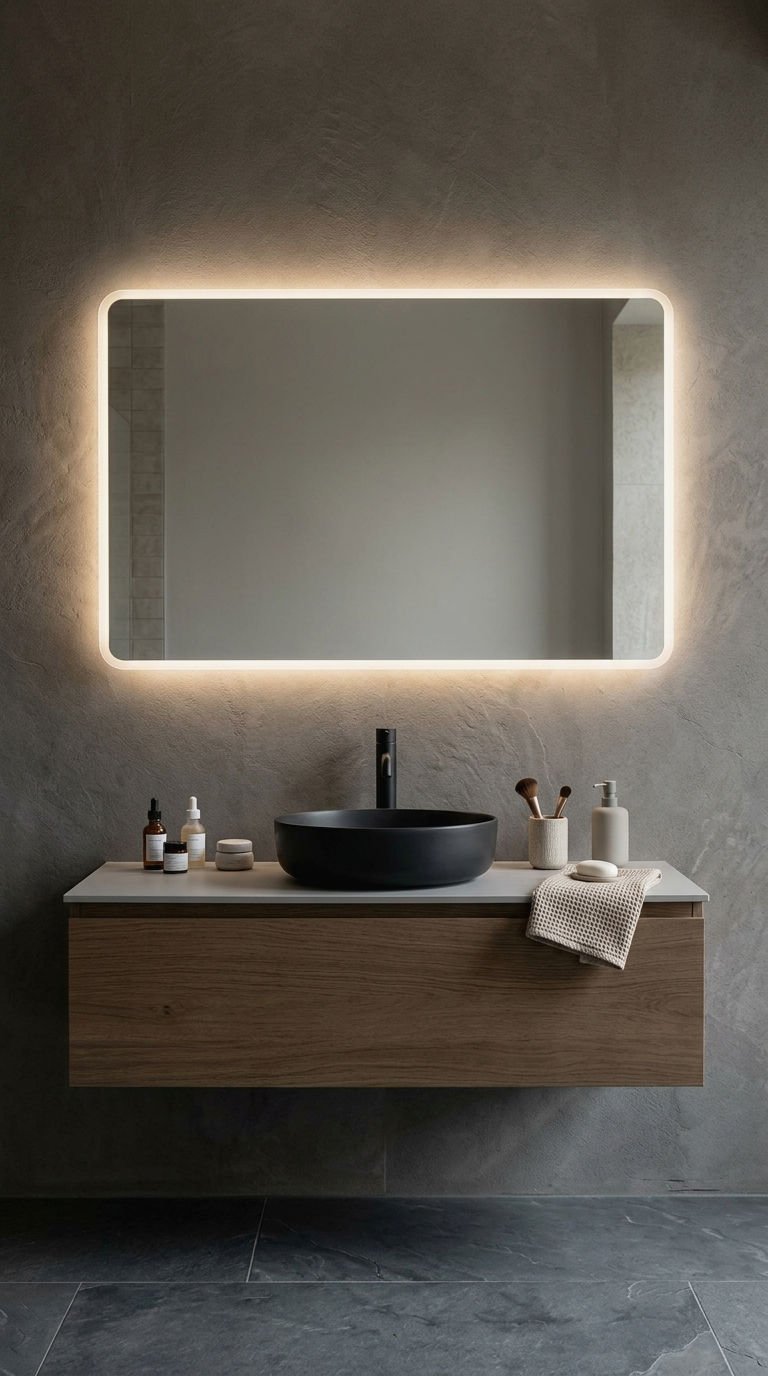
A backlit LED mirror glows from behind the glass, so soft light spreads around the frame with no visible bulbs. The look stays clean and modern, and it suits tiny bathrooms and sleek bedroom vanities.
Backlighting mostly lights your wall, so check whether the mirror also has a front light feature. Face-forward LEDs do the real makeup work. I’d pick a mirror that offers both. Dimming controls help here too, since a soft glow suits late-night routines while a brighter setting handles morning blending. Check how close the mirror sits to your face before you buy.
- Style: sleek, minimal frame
- Must have: front-facing LEDs
- Perfect for: modern bathrooms and bedrooms
8. Natural Window Light Makeup Setup

Free light beats most bulbs for checking your base. Set your mirror facing a window so daylight hits your face instead of coming from behind you. Soft, indirect light shows your real undertone and reveals blending flaws without drama.
Avoid direct sun. It blasts your skin and turns highlighter into a glow stick. Hang a sheer curtain if the light feels harsh, and keep a small mirror near the window for final checks. Cloudy days work beautifully, because clouds act like a giant softbox and spread light evenly across your face.
- Position: face the window
- Best time: bright morning or afternoon
- Tip: add a sheer curtain to soften glare
9. Dimmable Lights for Day to Night
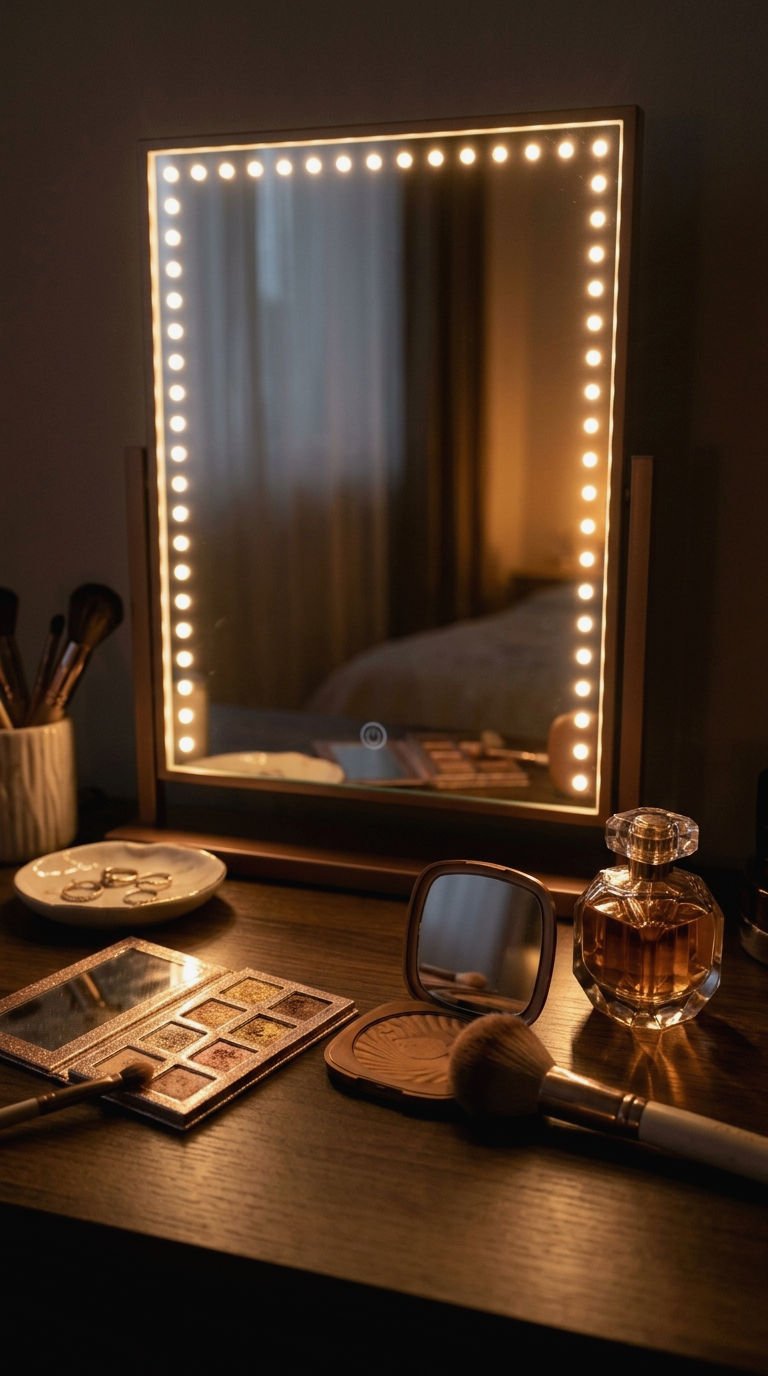
Dimmable lights let you test your makeup in the light you will actually live in. Start bright to blend your base. Then lower the glow to see how your look reads at a dim dinner, a club, or an evening event.
I love this trick for bold glam. Heavy bronzer and shimmer can look perfect at full brightness and overdone in soft light. A quick dim check saves you from surprises. Bonus points if your bathroom bulbs also dim, so you can mimic the lighting at your destination before you leave.
- Step one: blend at full brightness
- Step two: dim the light and re-check
- Look for: touch dimmers with smooth settings
10. Portable Travel Mirror With Lights

Hotel bathrooms love yellow, overhead lighting, which rarely flatters deep skin. A portable lighted mirror gives you your own light source wherever you land. Fold-up versions slide into a suitcase and charge by USB.
Look for adjustable brightness and a steady stand. Wobbly mirrors waste your time, and you already have a flight to catch. Set the mirror at eye level on the counter and face it toward the room’s best light. Pack a spare charging cable, because a dead mirror in a dark hotel bathroom ruins a getting-ready plan fast.
- Power: USB rechargeable
- Size: fits flat in a travel bag
- Check: brightness levels and a sturdy stand
11. Cordless Lighted Mirror for Renters
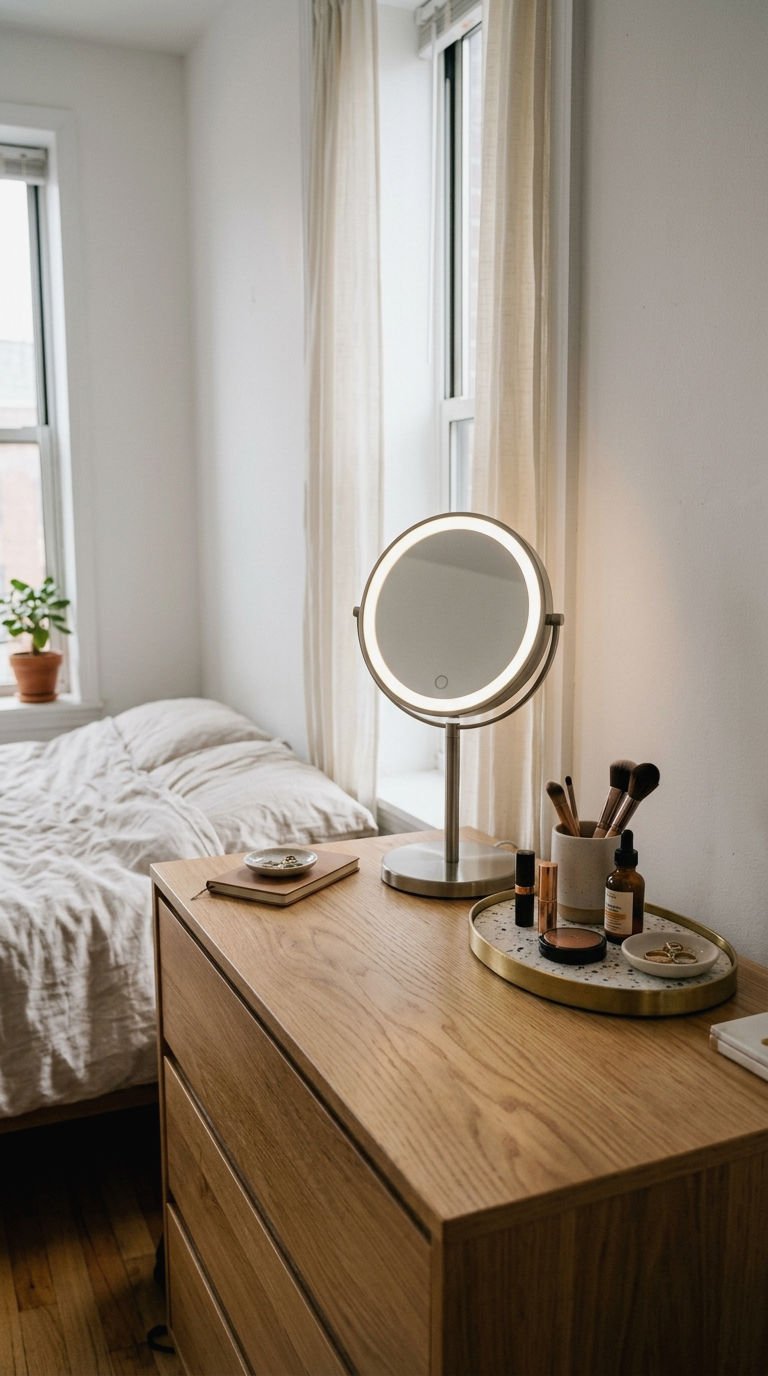
Renters can’t rewire a bathroom or mount heavy sconces. A cordless lighted mirror solves that with zero drilling. Charge it by USB, set it on a dresser or desk, and you have a full makeup station in minutes.
Pick a model with a sturdy base and a battery that lasts several sessions. Move it near a window for daylight checks, then carry it back to your vanity. Small apartments need flexible gear, and this fits. Pair it with a small stand and a tray, and your whole routine stays tidy and ready to pack away.
- Install: none, just place it
- Power: rechargeable battery
- Bonus: it moves wherever the best light lives
12. Warm Light to Fix Ashy Foundation

Ashy foundation ruins a good makeup day. Often, the shade works fine, but cold blue light makes it look gray. Switching to a neutral or slightly warm bulb shows your real match and brings warmth back to your complexion.
Test in two places: your mirror and a window. If the foundation looks gray in both, you need a deeper or warmer shade. If it only looks gray under cool light, change the bulb, not the makeup. A quick bulb swap costs far less than buying three new foundations you do not actually need.
- Symptom: gray cast in the mirror only
- Fix: swap to neutral or warm LEDs
- Double check: compare against daylight
13. Lighting to Spot True Undertones
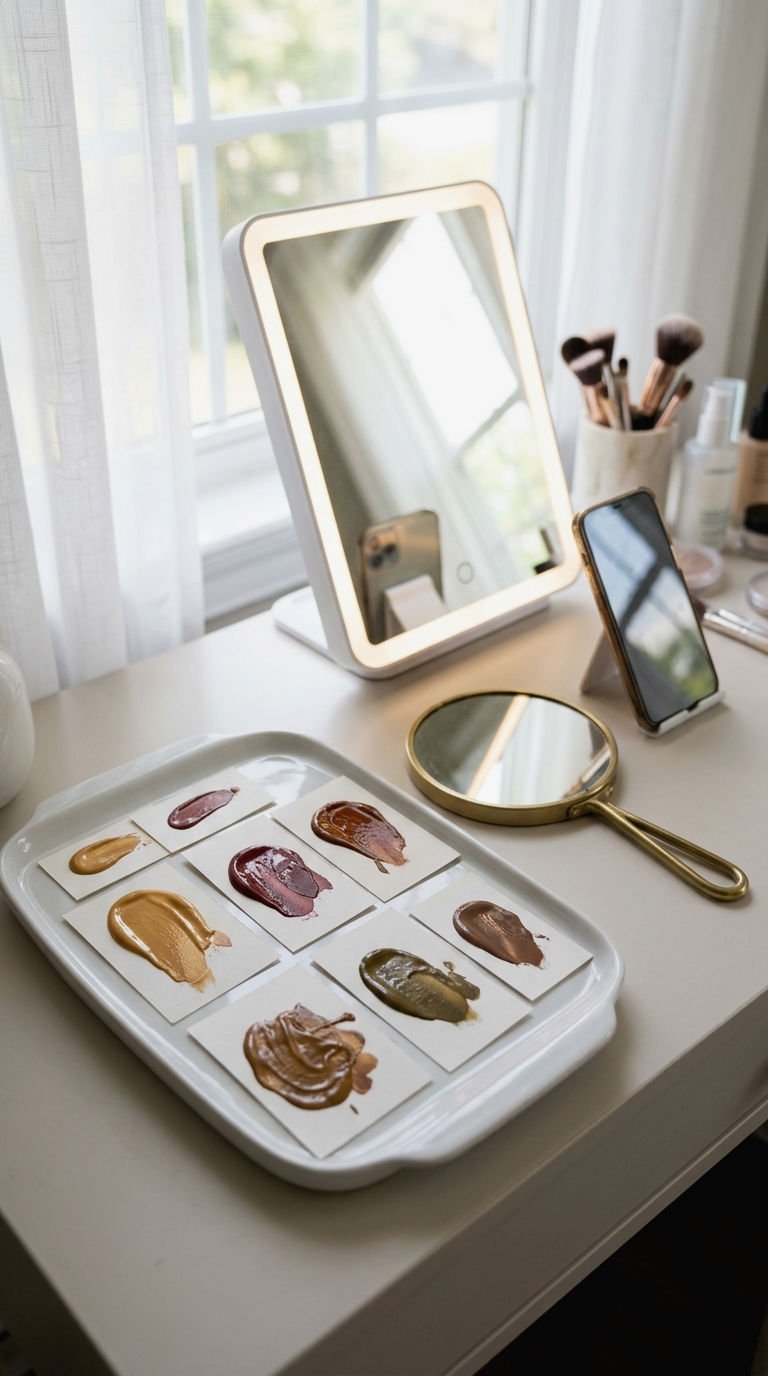
Undertones look different under different bulbs. Neutral, high-CRI light helps you see whether your skin leans golden, red, olive, or neutral. Pick your foundation and concealer after you read that tone, not before.
Hold swatches along your jawline and neck in the same light. The right match disappears into your skin instead of sitting on top of it. Snap a photo near a window to confirm what you saw. Lighting that leans too yellow can push you toward the wrong golden shade, while lighting that leans too blue can push you toward a cooler one. Neutral light keeps the guesswork out.
- Light: neutral and high CRI
- Test spots: jawline and neck
- Confirm: a daylight photo
14. Highlighter Glow Under Mirror Lights
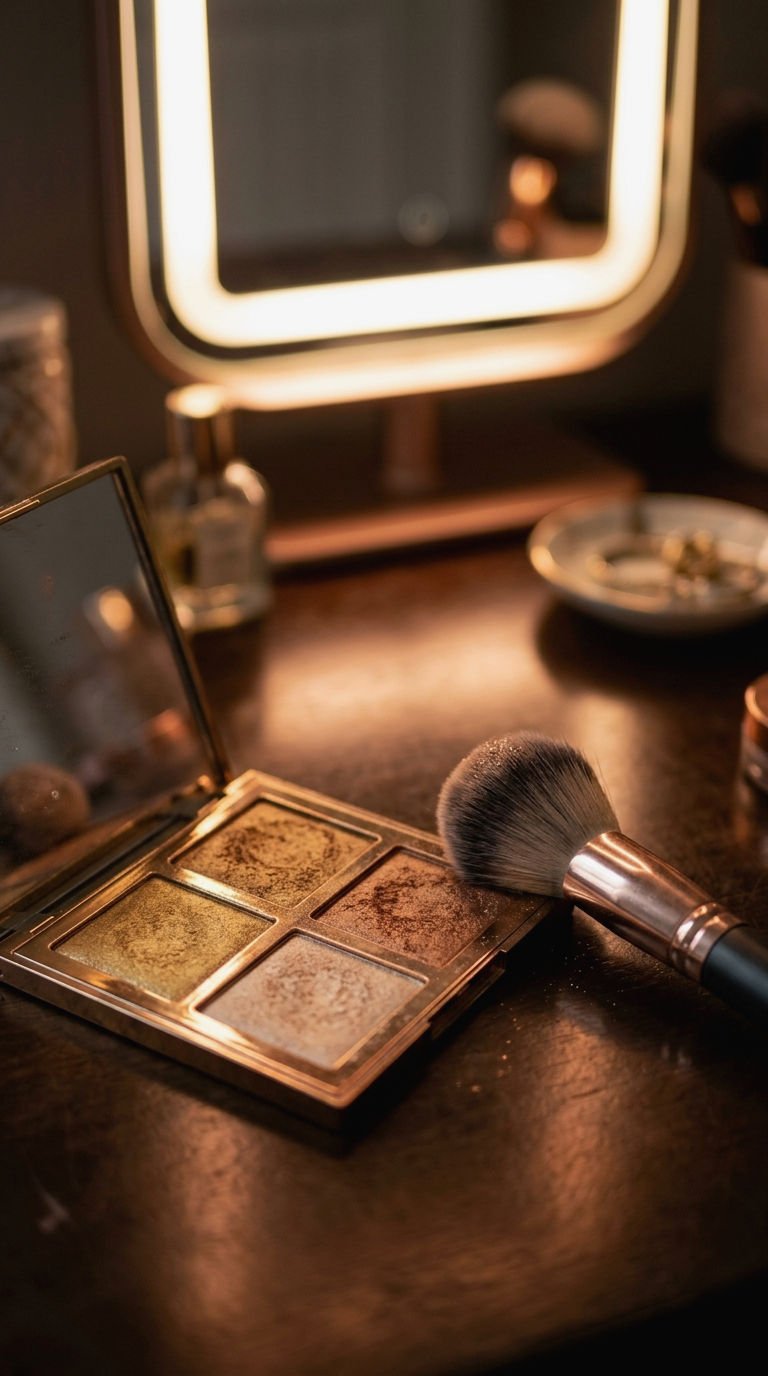
Gold, bronze, and copper highlighters look gorgeous on deep skin, but only with the right light. Bright, flat bulbs can blast the shimmer or hide it completely. Neutral lighting with a dimmer shows the real glow.
Apply highlighter on your high points, then tilt your face toward the light. Make sure the shimmer looks like skin, not glitter. I always step back from the mirror for the final look. Press the product on with your finger or a damp sponge for a wet, lit-from-within finish, then check how it catches the light from several angles. Small tweaks make a big difference.
- Shades to try: gold, bronze, copper
- Light: neutral and dimmable
- Final check: step back and tilt your face
15. Bold Lip Colors Under Vanity Lighting

Deep berry, plum, and true red lipsticks pop beautifully on rich skin. Poor lighting can turn them brown, orange, or flat. Use high-CRI lights so the shade you buy matches the shade you wear.
Check your lip color near a window after you apply it. Mirror light and daylight can differ, and you want both to agree. Take a quick look at your lip line while you’re there. Matte formulas read differently from glossy ones, so test both finishes in the same light before you decide which one deserves a spot in your everyday bag. Your future self will thank you.
- Light: CRI 90 or higher
- Final check: mirror first, then window
- Skip: harsh overhead-only lighting
16. Bathroom Vanity Lights for Makeup

Most bathrooms come with one light bar above the mirror. That setup throws shadows down your face, which makes deep skin look uneven. Upgrade by adding side lights at eye level, or replace the bar with a wider fixture.
Choose bulbs with the same color temperature, ideally neutral white. Mixed bulbs make your face look patchy. If a full rewire feels like too much, plug-in sconces or a lighted mirror add instant relief. Check your fixture’s wattage and bulb type before you swap anything, because some older fixtures only accept certain bulbs. When in doubt, ask an electrician for a quick opinion.
- Problem: overhead-only shadows
- Fix: eye-level side lighting
- Easy swap: matching high-CRI bulbs
17. Magnifying Mirror With Gentle Lighting

A magnifying mirror shines for brows, eyeliner, and lashes. The built-in light shows tiny details, and you can fix a wobbly wing before it sets. Choose gentle, diffused light so you don’t squint through glare.
Keep your regular mirror nearby, since magnification distorts proportions. Do the details up close, then step back to check symmetry. I think this duo beats any single mirror. Look for a lamp that stays cool and sits close to the glass. Skip mirrors that look blue-white at full power, because they wash out warm skin tones and make fine details harder to judge.
- Best for: brows, liner, and lashes
- Lighting: soft and diffused
- Pair with: a standard full-face mirror
18. Ring Light for Makeup Videos
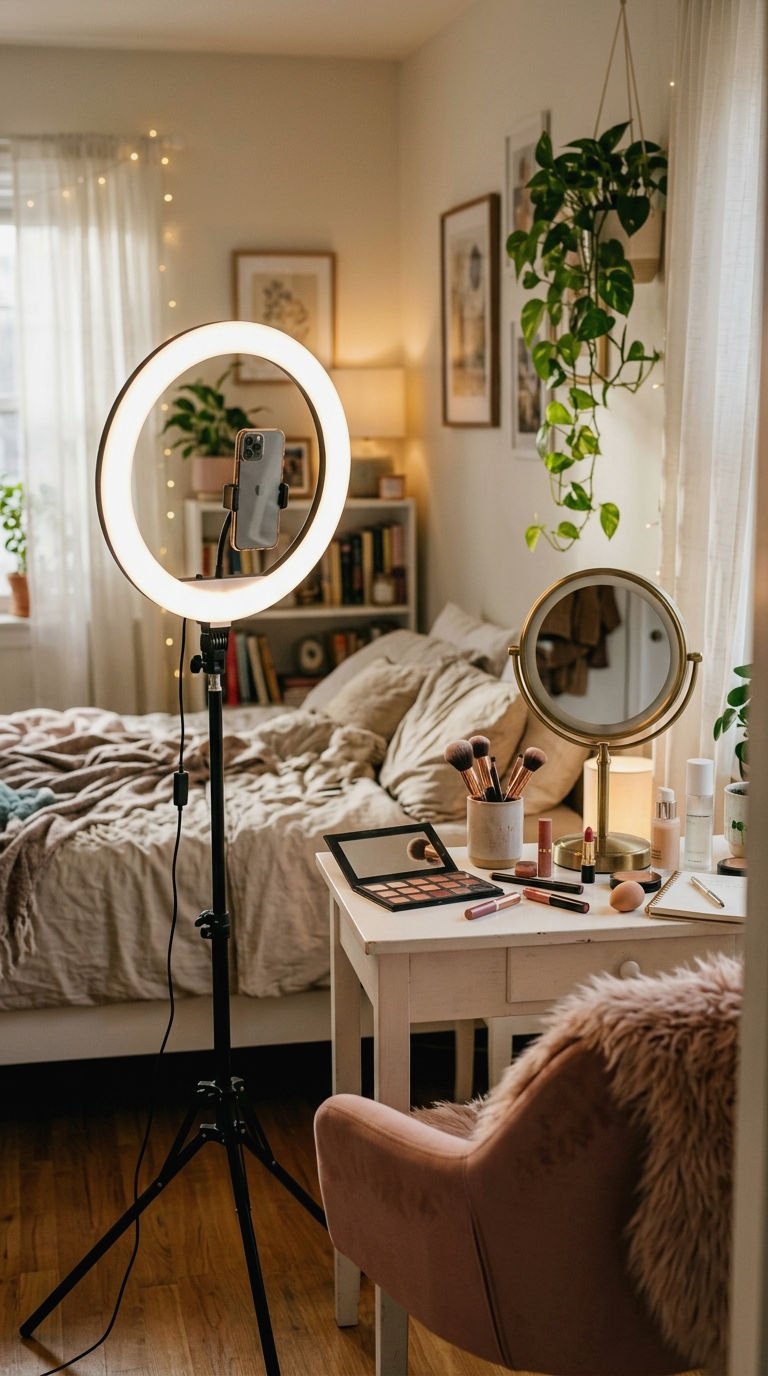
Makeup creators need lighting that works in the mirror and on camera. A ring light placed at eye level gives your face even light and a clean glow on video. Your phone camera loves it too.
Match your video light to your mirror light. A different color temperature changes how your foundation looks on screen. Record a short test clip, then watch it by a window to see if the color holds up. Keep the ring light about an arm’s length away to avoid harsh glare and bright spots on your forehead.
- Placement: eye level, facing you
- Match: mirror and camera lighting
- Test: a short clip before the real take
19. Budget Lighted Makeup Mirror Picks
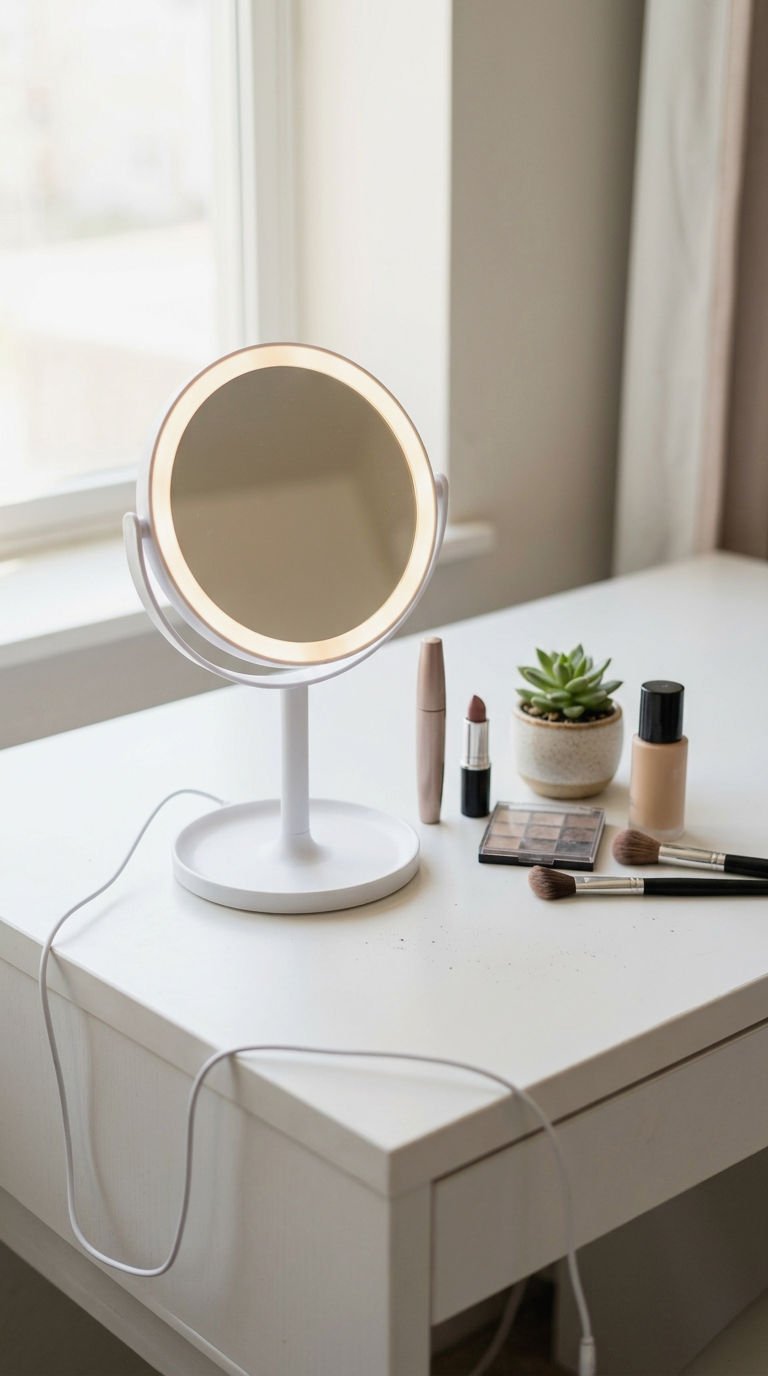
A good lighted mirror doesn’t need a big budget. Focus on three features: high CRI, dimmable brightness, and USB power. Skip the fancy extras and put your money into the light itself.
Read the listing carefully. If it hides the CRI or color temperature, keep scrolling. Check the return policy too, since you want to test the mirror with your own foundation before you commit. A mirror that costs a little more but lists clear specs usually beats a cheaper unknown. Compare a few options side by side and read reviews from people who describe their skin tone.
- Must have: CRI 90 plus
- Nice to have: adjustable color modes
- Avoid: listings with vague specs
20. Smart Mirror With Saved Light Settings

Smart mirrors remember your favorite light settings, so you never fiddle with dials again. Many models offer touch controls with warm, neutral, and cool modes, plus several brightness levels. Save your best combo and use it every day.
Set one preset for daily makeup and one for evening glam. That way your look stays consistent no matter who flips a switch in the bathroom. Pricey? Yes. Worth it for daily makeup lovers? I say yes. Some models even sync with a phone app, so you can adjust the glow without leaving the vanity.
- Presets: one for day, one for night
- Controls: touch buttons or a sensor
- Best for: people who love a routine
Frequently Asked Questions
What color temperature works best for deep skin tones?
Neutral white, around 4000K to 5000K, works for most people. It avoids the yellow tint of warm bulbs and the gray cast of cool ones. Test your base near a window to confirm.
Do I really need a high CRI mirror?
Yes, if color accuracy matters to you. A CRI of 90 or higher shows deep browns, reds, and golds closer to real life. Lower numbers can mute them.
Can I use my bathroom ceiling light for makeup?
You can, but it rarely flatters. Overhead light creates shadows under your eyes and nose. Add eye-level side lights or a lighted mirror to even things out.
How do I know my foundation matches after I apply it?
Check it in two lights: your mirror and natural daylight. Look at your jawline, neck, and ears. A true match blends invisibly in both.
Final Thoughts
Great makeup starts with great light. Pick a neutral color temperature, choose bulbs with a high CRI, and light your face from the front and sides. Those three moves fix most problems that deep skin tones face at the mirror.
Start with one upgrade, like a lighted mirror or a pair of sconces, and test it with your favorite foundation. You will see the difference right away. Your mirror finally tells the truth, and your makeup looks even better for it 🙂
Which setup will you try first?
